Transformations Techniques: Dry-Brushing and Glazing
Sam Lutz • October 11, 2016
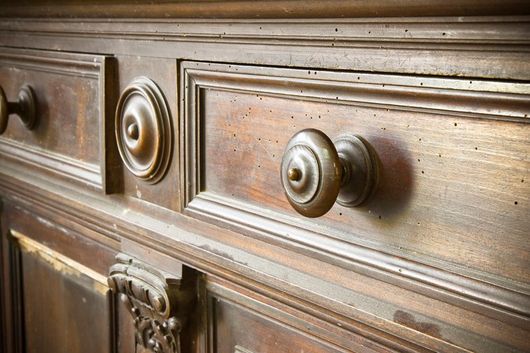
Dry brushing is a common technique that furniture refinishers use to create a distressed look on vintage furniture pieces. For an enthusiastic DIYer who enjoys experimenting with paint and glaze, dry brush technique can be easy and rewarding, producing results that look genuinely antique.
In this technique, glaze is applied to painted furniture with a dry brush. Lines and scratches produced by the brush bristles are captured in the drying glaze. When finished, dry brush furniture looks rustic, rough and care-worn, like a beloved item that has been in use for many years.
Gather Materials
Before you can get started on your furniture painting project, you'll need to gather the proper materials. You'll also need a piece of furniture to paint. Wooden furniture is best because the natural lines and grains in the wood provides additional texture and richness to the piece. In addition to wooden furniture, you'll also need:
- Rags
- Bucket
- Soap
- Sandpaper
- Primer (optional)
- Paint
- Glaze
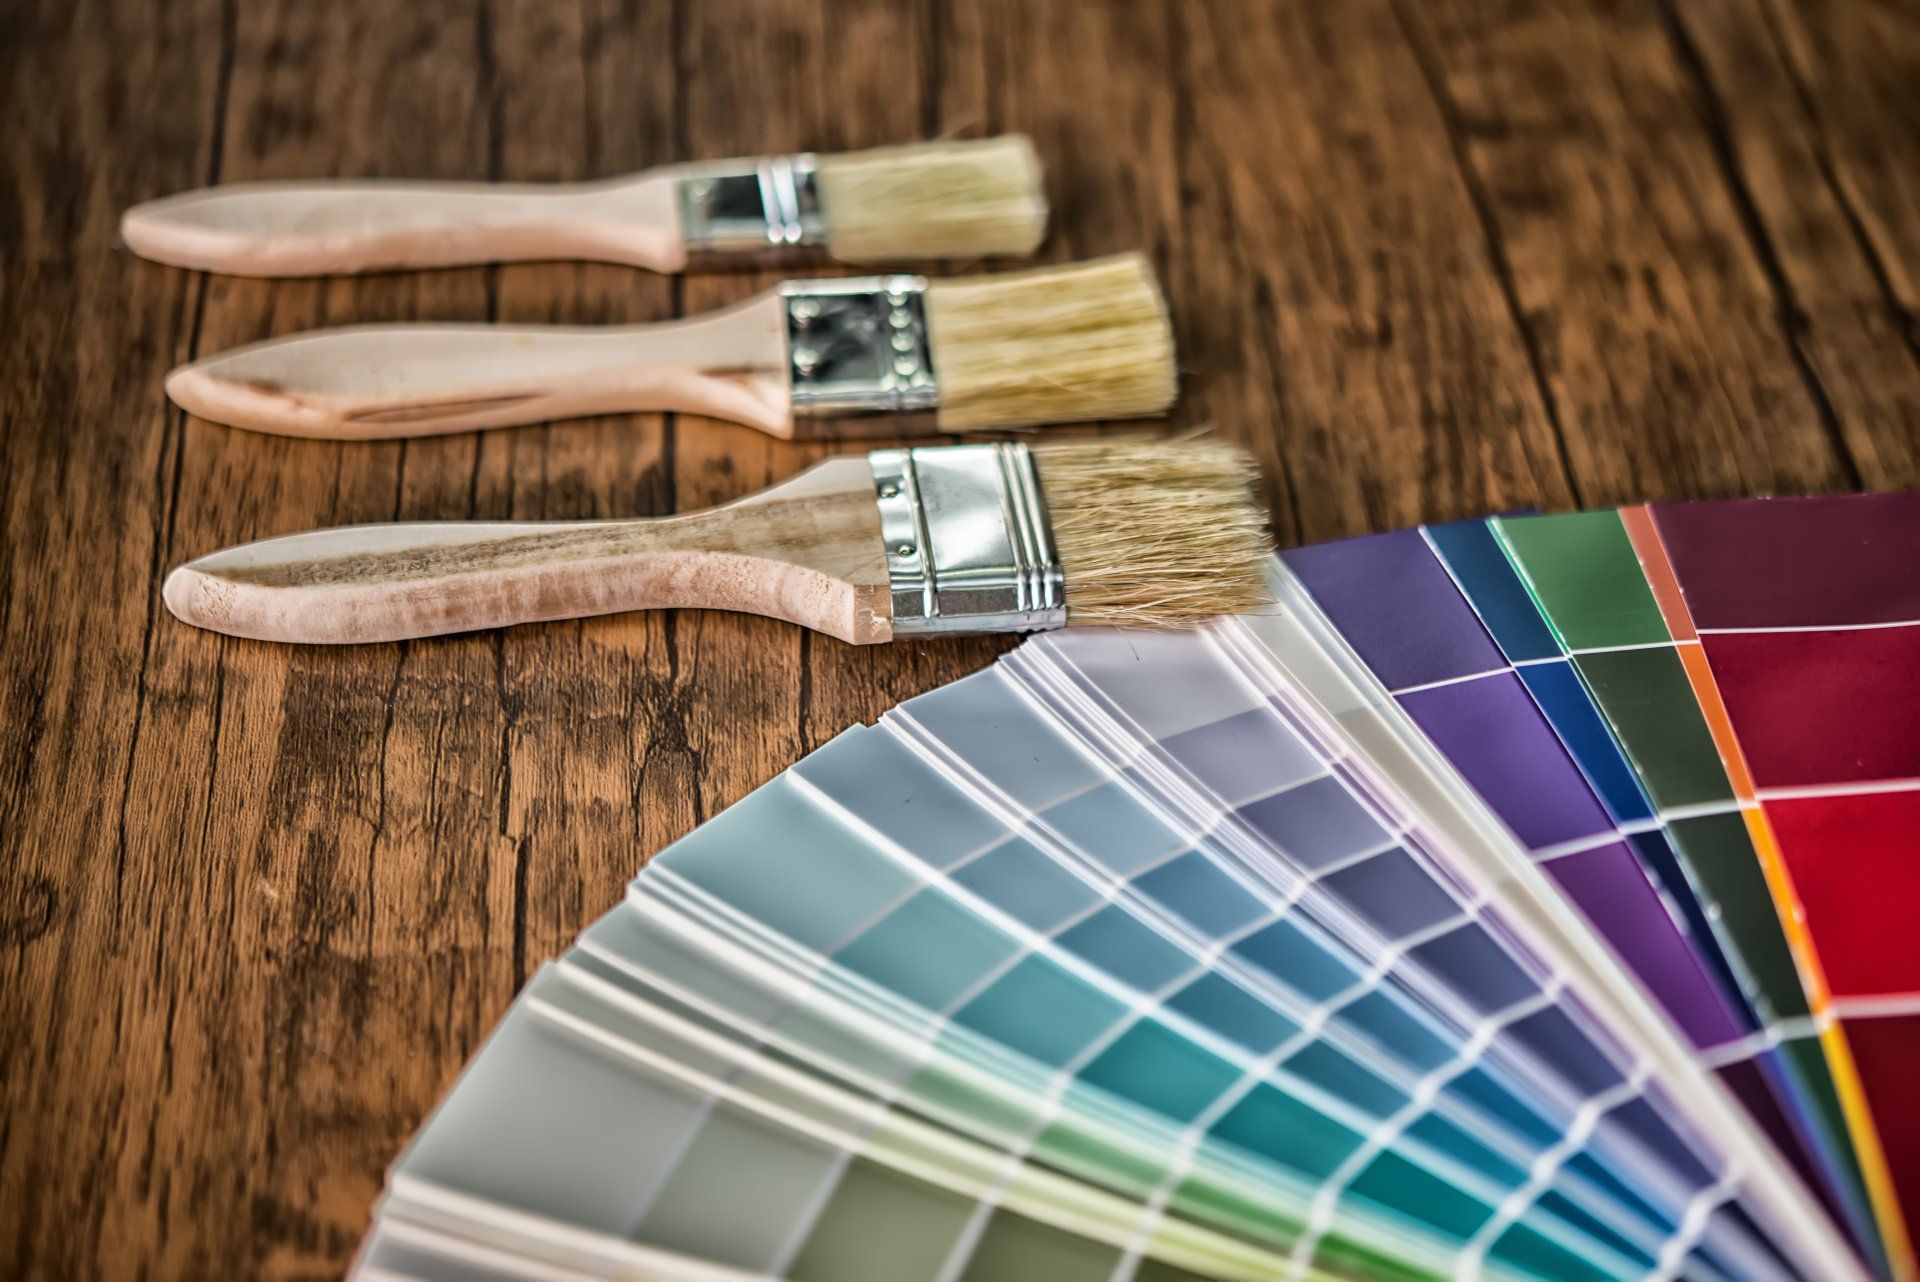
- Paint brushes (various sizes)
- Tarps
Process
- Place the furniture on a tarp in a well-ventilated space away from direct sunlight.
- Use a clean dry rag to remove any dust, dirt or spider webs from the piece.
- Dampen a rag with warm, soapy water, then wipe down the furniture and rinse off the soap with a second damp rag.
- Use a piece of sandpaper to rough up the surface of the wood; this will help the paint adhere to the wood. This is especially important if you don't plan to use primer on the furniture.
- Wipe down the furniture again with a damp rag to wash away any wood shavings on the piece.
- Dry the furniture with a dry rag, and proceed when the piece is fully clean and dry.
- Paint the furniture with the primer, if you have primer to use.
- Wait until the primer is fully dry and no longer tacky before proceeding.
- Paint the furniture with a coat of paint. Once the furniture has been fully coated in paint, wait until the paint has dried and is no longer tacky, then proceed to the next step.
- Apply a second coat of paint to the furniture. Wait until the paint has dried and is no longer tacky before proceeding to the next step.
- Dip the tips of a dry paint brush into your glaze, so that only the ends of the paintbrush are wetted.
- Apply the glaze to the furniture. Allow the bristles to cut into the glaze, creating a striated texture.
- Cover the piece of furniture with glaze. The paint should show through the glaze, especially around the corners of the piece. If necessary, use a rag to wipe the glaze off the sharp edges of the furniture, allowing the paint to fully show through.
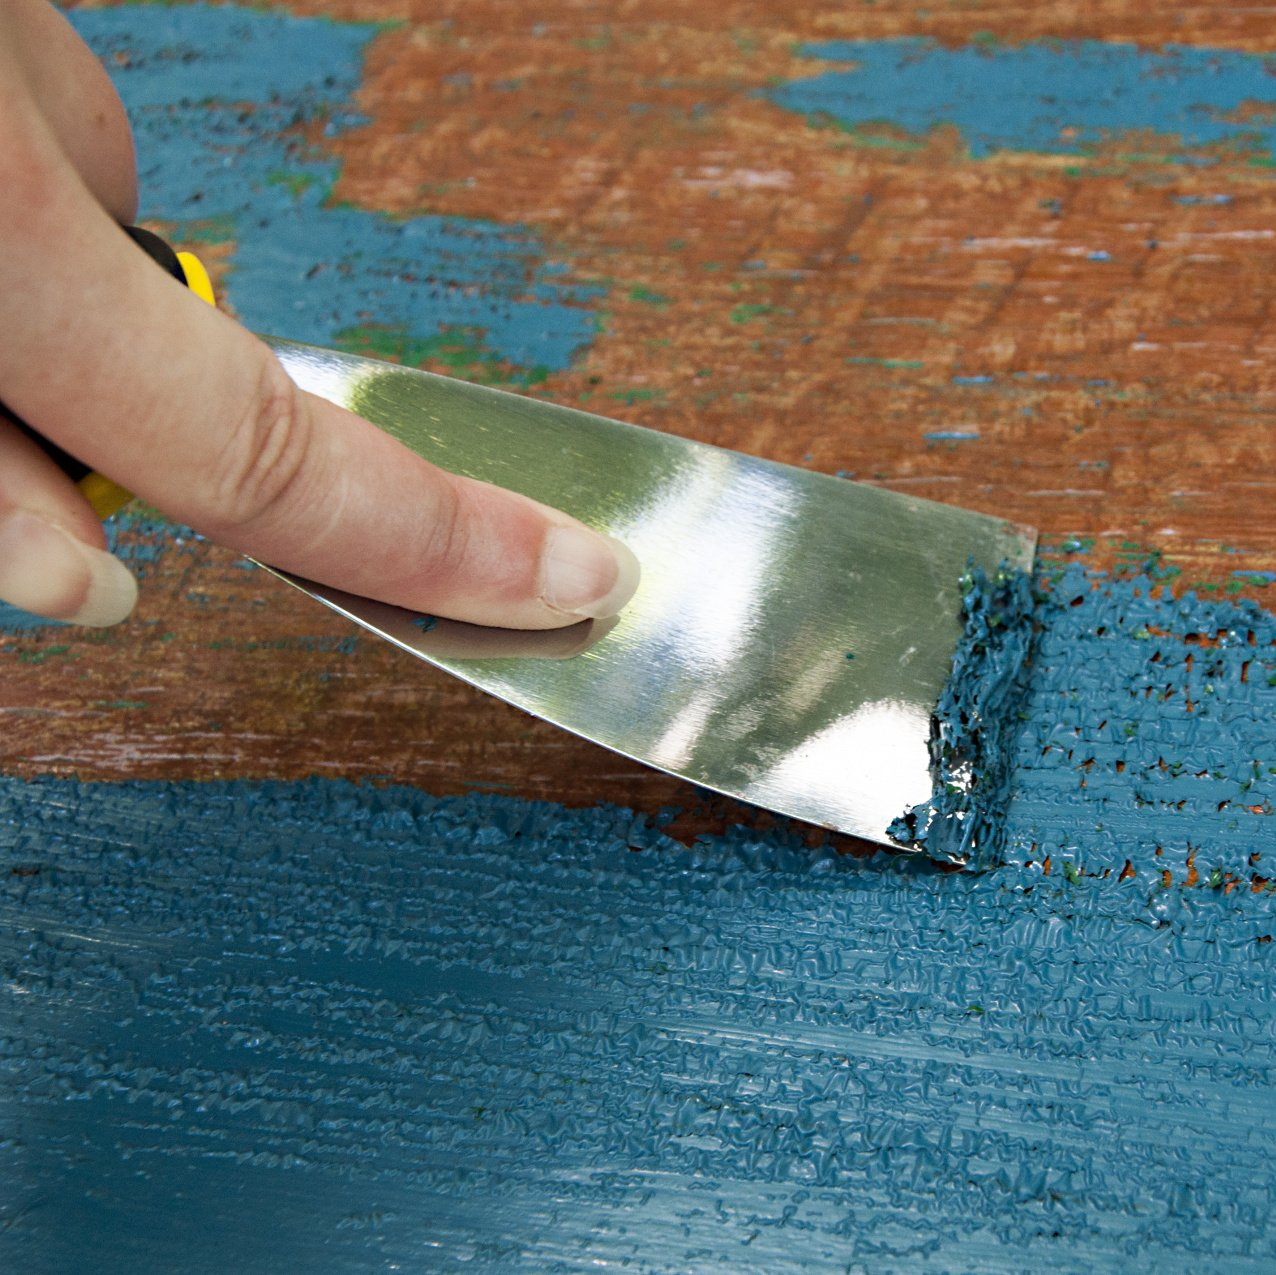
When the glaze is fully applied to the furniture, you may wish to use sandpaper to remove patches of glaze and paint to reveal the wood underneath. This will help emphasize the distressed, antique appearance of the furniture.
Stop in at Ace Paint and Unfinished Furniture
Ace Paint and Unfinished Furniture is your source for paint, tarps, paint brushes and more in the Pittsburgh area. We also sell naked furniture, perfect for enthusiastic DIYers! To get started on your projects, stop in at one of our stores for supplies
and advice.
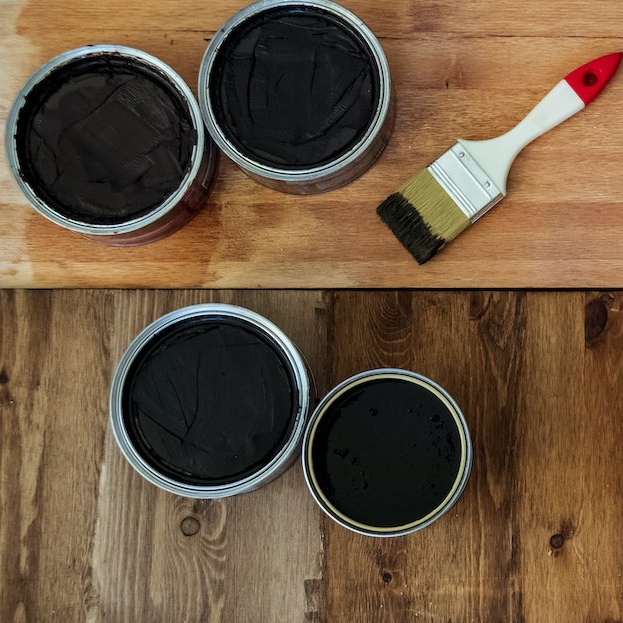
One of the wonderful things about good wood furniture is that it doesn’t have to be merely functional. It can be beautiful as well. We’ve seen some amazing pieces made with wood stains that are more than just furniture, they’re works of art. So if you’ve got an old table, desk or other piece of wood furniture that needs jazzed up, why don’t you consider using some of our great stains to try one of these ideas.

