Painting Your Cabinets? Do It Right!
Sam Lutz • January 16, 2018
What are the best practices for refinishing your cabinets? Painting your cabinets the right way can help ensure that the finish will stand up to the test of time.
Gather Your Materials
First, gather your materials before getting started:
- Tarps
- Screwdriver
- Sandwich baggies
- Pencil
- Marker
- Painter’s tape
- Liquid finish remover
- Abrasive Pad
- Rags
- Wood putty
- Putty knife
- Gloves
- Sandpaper
- Primer
- Paint Brushes (flat and chisel-edge)
- Paint
Prep the Surface
Before you begin to paint, you must prep your cabinets. Cabinet prep is time-consuming but worth it in the end. Surface scratches and pockmarks need to be filled, and grease, grime and old finishes must be removed.
Begin by T removing doors and drawers. Mark each door and drawer so you’ll know where they go when you’re ready to put them back. Remove all hardware and use baggies to contain the hardware so you’ll know which set corresponds to which cabinet or drawer. Mark each baggie accordingly.
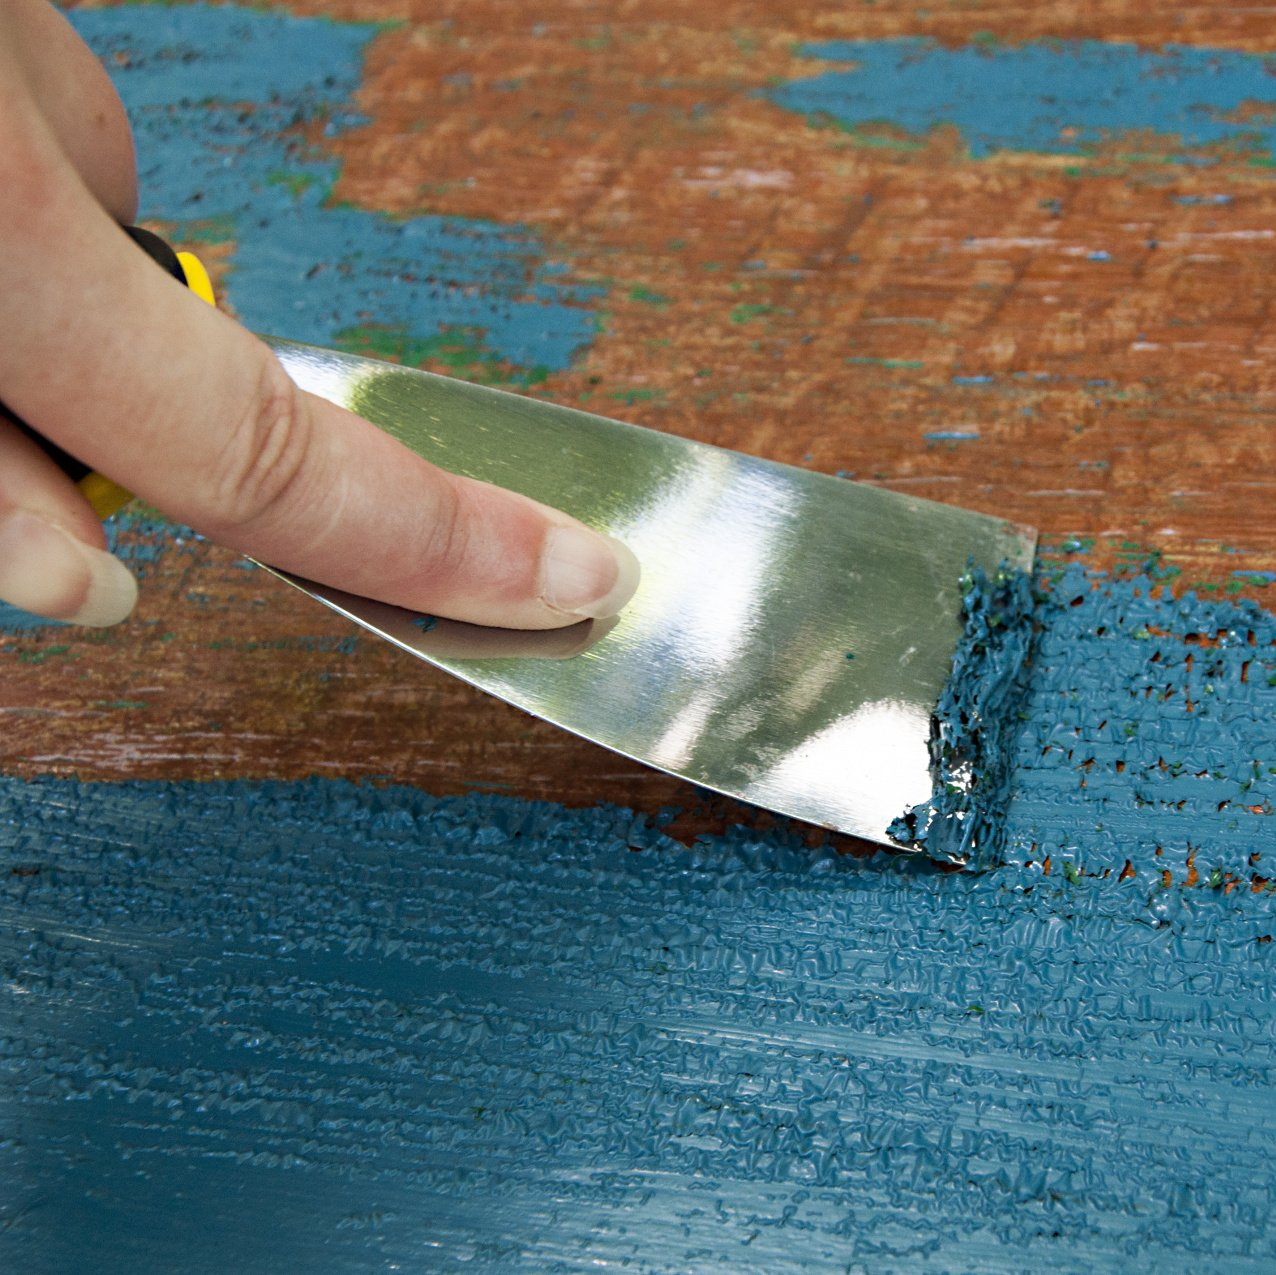
Cover all countertops with tarps, and remember to tape the walls around the cabinets. To scrub off the grease and old finish, use an abrasive pad and liquid finish remover. Scrub down all doors, drawers and cabinet boxes until they’re cleaned and the finish removed. Note: keep the room ventilated.
Next, fill any holes in the cabinets with wood filler.When dry, sand down the filler until it’s flush with the surface of the cabinet. Sand the surfaces where paint will be applied to make the surface rough and ready to absorb paint. Finally, clean the cabinets one more time to remove any wood shavings.
Note:
If you choose to paint the inside of the cabinets, you’ll need to prep the inside in the same way that you prep the outside. Painting the inside of the cabinets are not required and many homeowners choose to skip this step. If you choose not to paint the inside, apply painter’s tape to the inside edge of the cabinets to keep the paint line clean.
Apply Primer and Paint
Once the cabinets are cleaned, sanded and cleaned again, they’re ready to be painted. Apply primer to all parts of the cabinets you plan to paint. Allow the primer to dry fully before proceeding. If you’re not sure how long the primer needs to dry, read the manufacturer’s instructions. Primer is usually ready to be painted over when the primer is no longer tacky.
When the primer is dry, sand down the primer with a fine grit sandpaper, then wash the cabinets to remove paint shavings. Apply a second coat of primer. When it’s dry, re-sand and re-clean the primer. Why? Because sanding the primer is an important step to help hide brush marks. Sanding the primer also roughs up the surface so paint and primer can attach itself to the primer more easily.
Finally, apply your first coat of paint. Wait for the paint to dry, then sand it lightly to remove brush marks. Clean the paint and then apply a second coat. Once the surfaces are painted and the cabinets are finished, use a screwdriver to reattach the doors and hardware. Use a slower-drying waterborne paints for cabinets to ensure a smoother finish.
Stop In at Ace Paint and Unfinished Furniture
If you’re planning to paint your cabinets in Pittsburgh, stop in at Ace Paint and Unfinished Furniture. We sell everything you need to get started with your project!
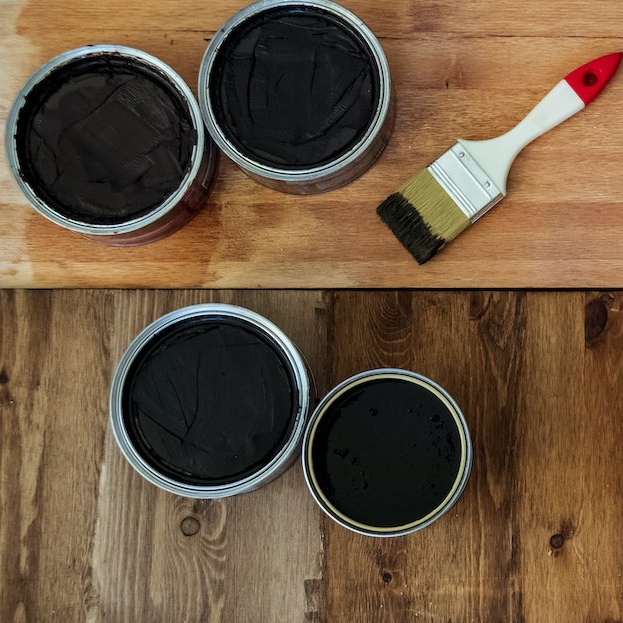
One of the wonderful things about good wood furniture is that it doesn’t have to be merely functional. It can be beautiful as well. We’ve seen some amazing pieces made with wood stains that are more than just furniture, they’re works of art. So if you’ve got an old table, desk or other piece of wood furniture that needs jazzed up, why don’t you consider using some of our great stains to try one of these ideas.

