How To Stain Wood Siding
Sam Lutz • April 26, 2016
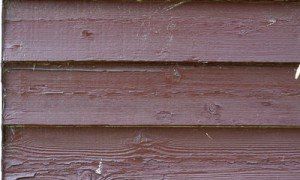
Stain provides excellent protection for homes with wood siding because, unlike paint, stain soaks into the wood and bonds to the grain. Knowing how to stain your home's wooden siding
can help you take care of your property and protect your home from water damage. Today's tutorial will walk you through the step by step process of painting your siding.
Before You Get Started
Before you can stain your home, you must choose the right stain for your property. Stains come in different levels of transparency. Very transparent stains will allow the wood grain to show through, while more opaque stains cover wood grain and offer longer lasting protection. Some stains are totally solid (similar to paint) and offer maximum protection.
You'll also need to pick the color of stain that matches your preferences. Many stains come in colors that mimic natural wood, like the Cetol Log and Siding
translucent stain product, which comes primarily in shades of blond and honey. Some high quality wood stains come in base
and top coat applications
for better performance and durability.
Project Preparation
Once you've chosen the right product for your home, you'll need to get your siding ready to accept stain. If your home was previously stained, start by sanding the surface of the siding until it is smooth and much of the old stain is gone. Use a medium grit sandpaper on an orbital sander.
Next, clean your home's siding. To do this, you'll need a scrub brush, warm water mixed with mild detergent and a garden hose with a spray nozzle. Wipe down the siding with the scrub brush to remove the dirt and grit, then spray down the siding with a strong jet of water.
Wait for the siding to dry at least a couple days before moving on to the staining process. If you should happen to find mold or mildew on the siding, scrub it with a scrub brush dipped in a combination of oxygen bleach and water. This will help kill the mold.
As you clean your house, you may find sections where the wood has become damaged with dry rot. Any damaged sections will need to be replaced or repaired before you can apply stain.
Stain Application
Once the house has been sanded, cleaned and dried, it's time to start staining. If you've ever painted a room, you should already have some understanding of how this process will work. Here are a few tips:
- Cover the plants and shrubs around the house with tarps to protect them from stain.
- Work in small sections at a time. Never leave a board partially stained and finish staining it later or your board could show overlap marks once the project is finished.
- Paint in the direction of the wood grain.
- Follow the manufacturer's instructions for recommended exterior temperature and humidity at the time of application.
- Start applying stain when weather predictions indicate there will be no rain for the next several days.
- Start by applying stain to the siding in a very small, discrete part of the house. Proceed with the rest of the staining process when you know that the stain achieves the look you desire.
For more information, take a few minutes to watch this helpful video:
Stop By Ace Paint and Unfinished Furniture to Get Started
At Ace Paint and Unfinished furniture, we have basically everything you need to get started with your staining project. If you're ready to stain your home, come to Ace Paint and Unfinished Furniture
for your tarps, paint brushes, stain, stir sticks and more.
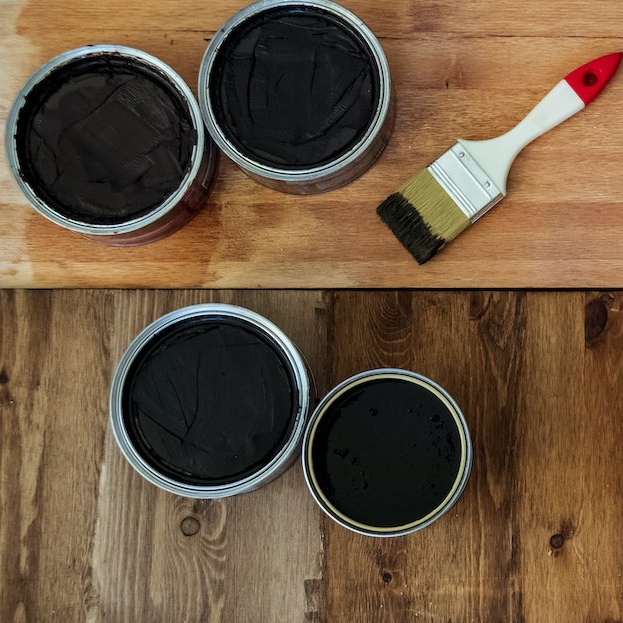
One of the wonderful things about good wood furniture is that it doesn’t have to be merely functional. It can be beautiful as well. We’ve seen some amazing pieces made with wood stains that are more than just furniture, they’re works of art. So if you’ve got an old table, desk or other piece of wood furniture that needs jazzed up, why don’t you consider using some of our great stains to try one of these ideas.

