How To Paint Behind A Toilet
Sam Lutz • September 22, 2015
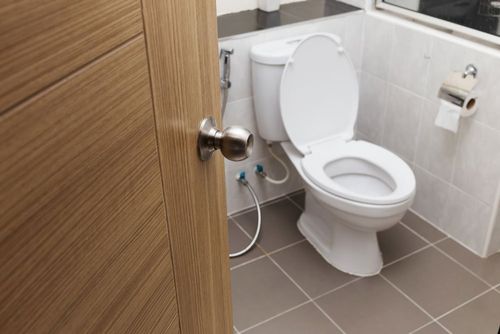
It’s the worst place to paint in a bathroom: the tight spot behind the toilet. In this tutorial, we’re going to teach you how to paint that area behind your toilet, and then we’re going to show you a product that is specifically designed to make that job easier.
The Traditional Method
This is the method that allows you to paint the space behind your toilet using all the standard painting supplies you already have on hand. This method can be a bit time consuming, but it’s a sure-fire way to get the wall behind your toilet painted without actually painting the toilet.
Materials:
- Tack cloth
- Drop cloth
- Large heavy duty garbage bag
- Painter’s tape
- Mini paint roller
- Foam paint brush
- Angled 1” paint brush
- Little detail brush
Process:
- Clean the area around the toilet, including the back of the toilet and the wall behind it. This can be a neglected part of your bathroom, so it’s important to remove any dust bunnies in the area before proceeding. Use a sponge or a tack cloth. If you have to dampen the area to clean it, be sure to dry it before proceeding to the next step.
- Lay a tarp on the floor around the toilet. Tape the tarp to the floor with painter’s tape.
- Cover the toilet with the large heavy duty garbage bag. Tape the garbage bag tightly around the toilet so that the garbage bag won’t slide.
- Paint the wall around the toilet with a mini paint roller. Paint as much of the wall as you can without bumping the paint roller against the toilet.
- Use the foam paint brush to paint the part of the wall behind the toilet that the paint roller can’t reach. Coat the side of the sponge and slip it behind the toilet so that the painted side is flush with the wall. You may have to hold the sponge by the tip of its stick and swipe it in small arcs to reach the parts of the wall directly behind the toilet. Don’t worry about touching the toilet as long as it remains protected by the garbage bag.
- Use the angled paint brush and the smaller detail brush to touch up any areas that the foam paint brush wasn’t able to cover.
- Wait until the paint is dry, then apply a second coat to the space behind the toilet, using the same method described above in steps 4 through 6.
Method #2: The Jimmy Sponge Stix
This method is much easier than the steps described above, provided that you’re able to buy a Jimmy Sponge Stix. The Jimmy Sponge Stix is a handy, ruler-like stick with a sponge on one side. The stick is slightly bowed so that it can be pressed to conform to the shape of the wall.
This is the way it’s used:
- Paint the sponge-side of the stick using a paint roller.
- Press the stick, sponge side down, against the wall above the toilet.
- Move the stick down along the wall to paint the space behind the toilet.
You can take a look at this video to see how this tool works for yourself:
Resources, Other Suggestions
If the traditional method isn’t going to work for you, and the Jimmy Sponge Stixs aren’t available in your area, there are lots of ways to make your own tools and methods for painting behind the toilet. This woman created a perfectly functional painting tool out of a fly swatter and a replacement paint pad:
And in this video, you’ll see the same basic design, but using a fly swatter instead of a paint stick:
Before you start painting your bathroom, stop in at Ace Paint and Unfinished Furniture.
We have all the tools you need to do a fabulous, professional-looking paint job in your bathroom. If you have questions, we can answer those, too. We look forward to helping you with your upcoming paint project.
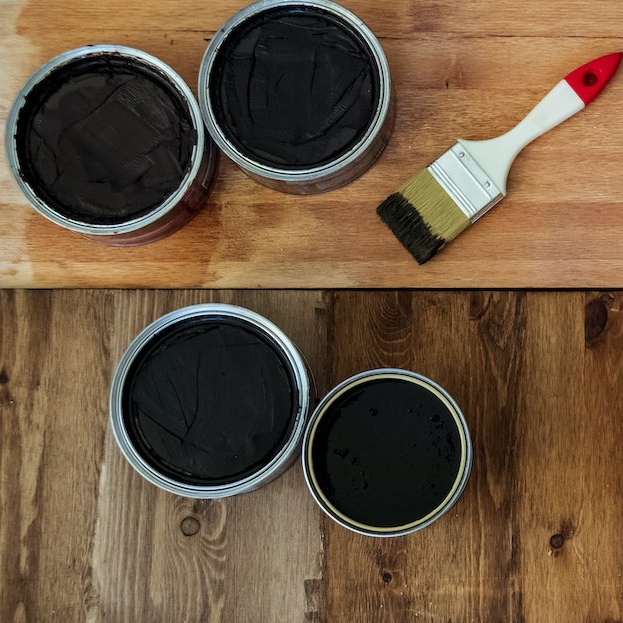
One of the wonderful things about good wood furniture is that it doesn’t have to be merely functional. It can be beautiful as well. We’ve seen some amazing pieces made with wood stains that are more than just furniture, they’re works of art. So if you’ve got an old table, desk or other piece of wood furniture that needs jazzed up, why don’t you consider using some of our great stains to try one of these ideas.

