How To Paint A Lovely Chalkboard Dresser
Sam Lutz • April 21, 2015
Looking for the perfect medium to refinish that old dresser for your child’s bedroom? Chalkboard paint is the way to go! Parents love this project because it gives them the option to label their child’s dresser drawers in a way that is cute and functional. Kids love this project because they end up with a dresser they can draw on (and what kid wouldn’t love that?).
Chalkboard dressers also have a place in the house beyond a child’s bedroom. For adults who like the shabby-chic or country-cute look for their home’s interior, chalkboard dressers are a great piece to display in any area of the house, including the bedroom, foyer, hallway and beyond. If you’re worried about painting your dresser with a heavy green or black paint, don’t forget that chalkboard paint comes in a variety of colors and can be matched to any interior decor.
Materials
- Tarp
- Several tack cloths or clean rags
- Sand paper
- Primer
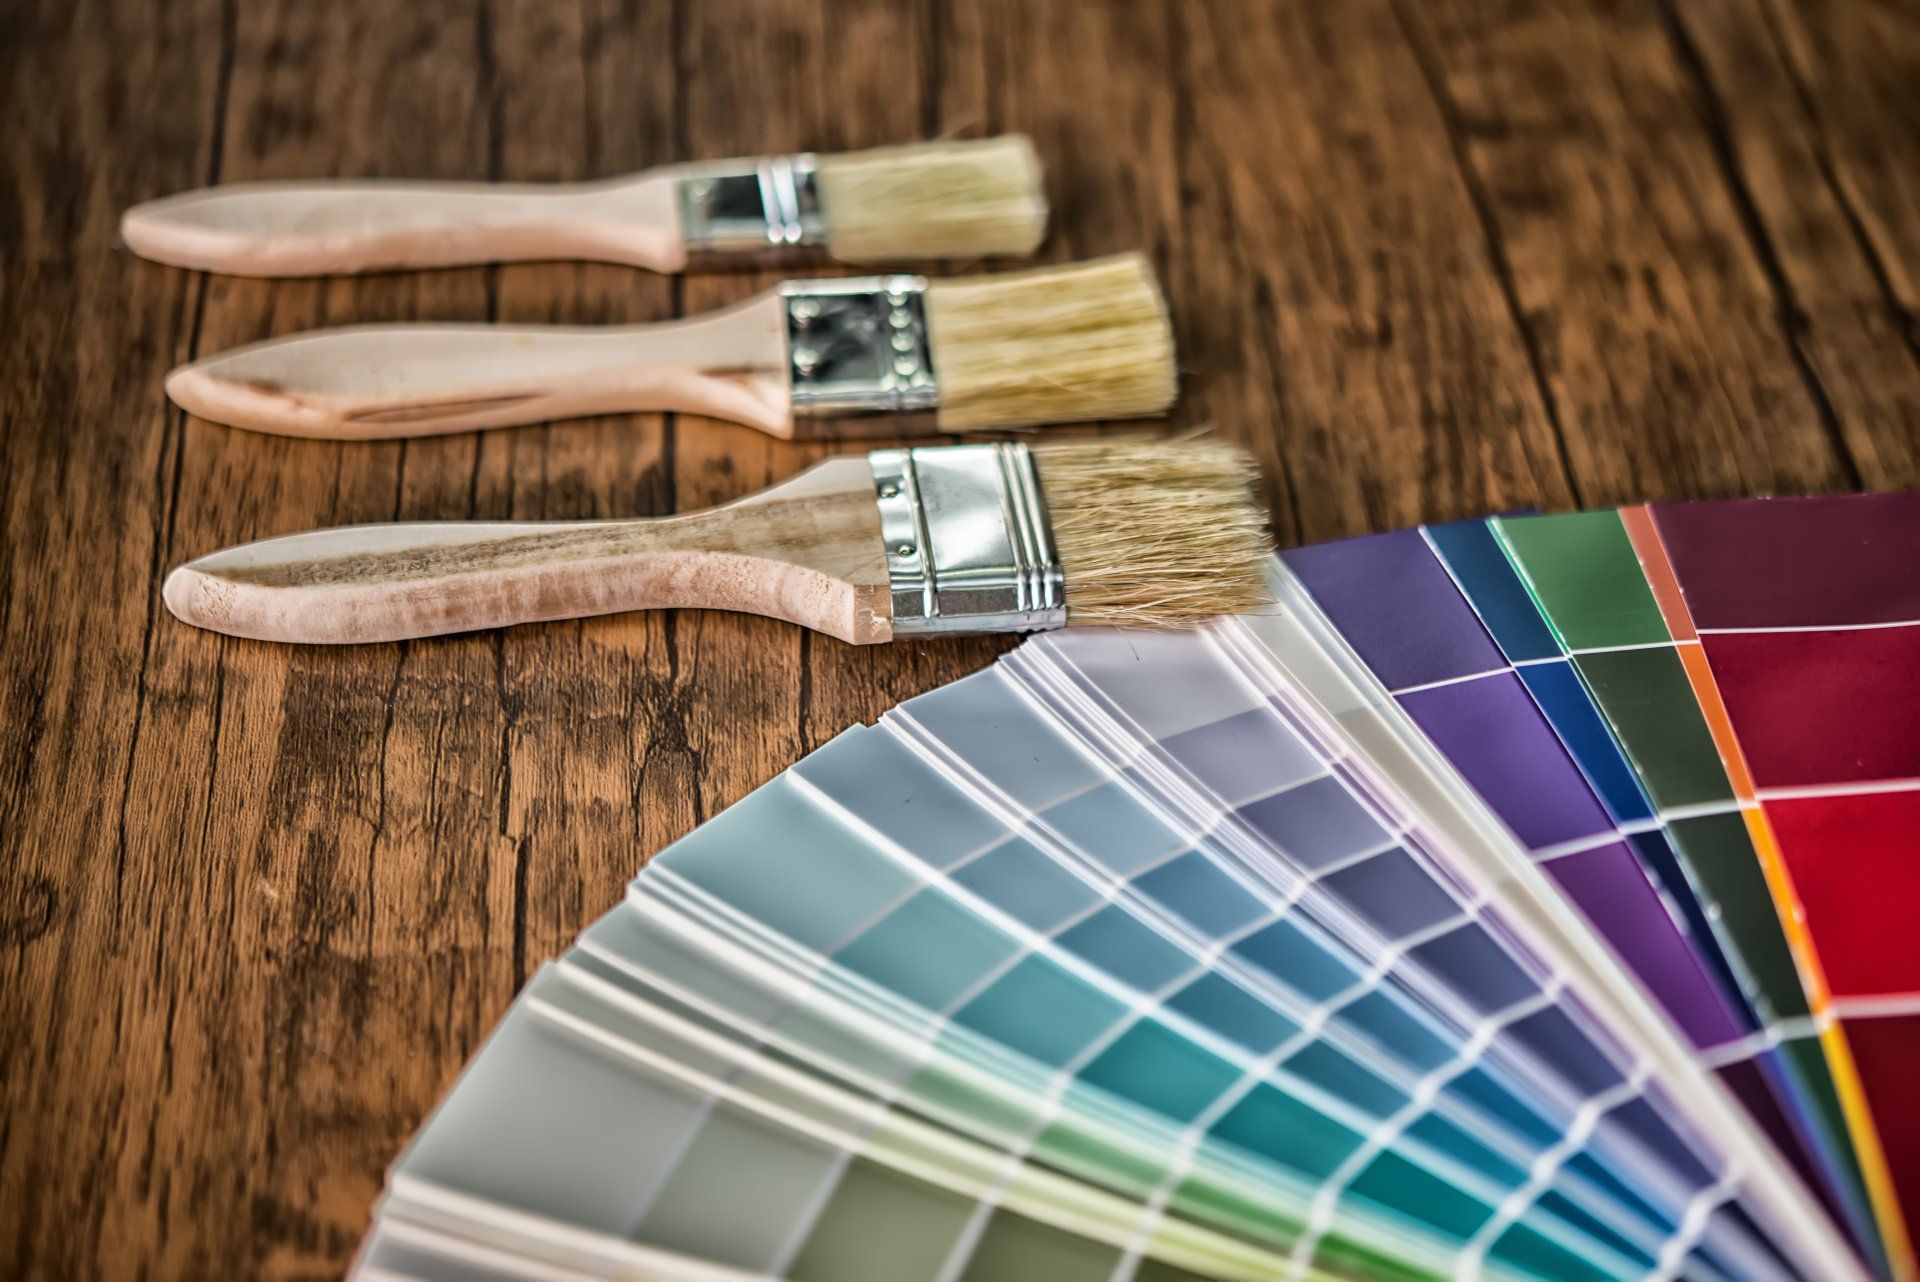
- Paintbrushes (large and small, angled and flat edge)
- Paint tray
- Chalkboard paint (the non-aerosol kind)
- Chalk
Process
- Lay out the tarp and place the dresser on top. Pull out the drawers and lay them on the tarp separately.
- Wipe down the exterior of the drawer with a damp rag or tack cloth. Clean off any dust, dirt, grit and spider webs.
- Use a screw driver to remove any dresser hardware (like knobs and handles).
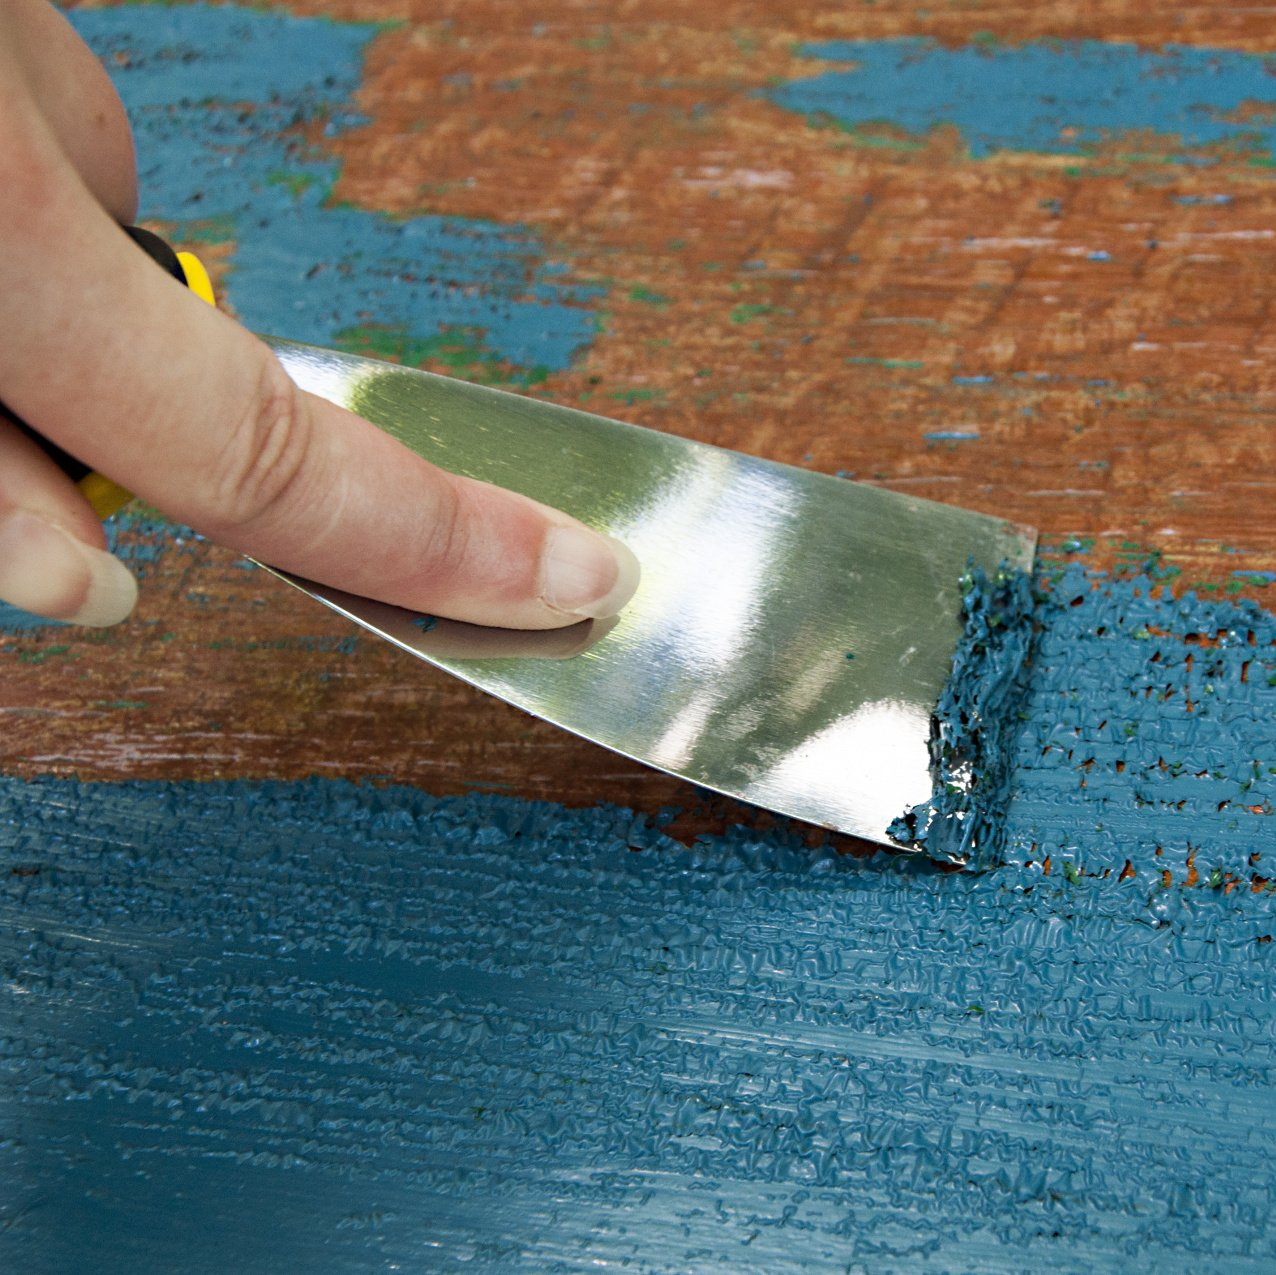
- Sand down the old finish on the dresser to smooth out the defects and create a rough finish on the surface of the dresser for the chalkboard paint to adhere to.
- Wipe down the dresser and drawers again with tack cloth, removing any saw dust that accumulated on the dresser as a result of the sanding.
- Paint the dresser with primer. Do not paint any part of the dresser that was not previously painted. Paint only the exterior of the dresser and faces of the drawers. Painting the outer sides of the drawers (the part of the drawers that contact the dresser frame) could later result in drawers that stick.
- Wait for the primer to dry for the amount of time specified by the manufacturer. For best results, allow the primer to dry in a room with a moderate temperature and low humidity.
- Apply the first layer of chalkboard paint over the primer and allow the paint to fully dry. Check the manufacturer’s instructions for drying times.
- Sand down the first layer of chalkboard paint just enough so that the finish is rough.
- Wipe down the areas you just painted and sanded using a tack cloth or damp rag.
- Paint the second coat of chalkboard paint on the dresser and allow it to dry for the manufacturer’s recommended length of time.
- Re-assemble the dresser, reattaching the hardware and putting the drawers back into the frame.
- Take the piece of chalk and rub the side of it over the entire surface of the newly painted dresser. Coat the entire dresser in chalk, then wipe off all the chalk with a fresh cloth. Applying chalk to the surface of the paint will prevent any future applications of chalk from becoming permanently burned into the surface of the chalkboard paint.
That’s it! This process isn’t much harder than painting a dresser with any standard form of paint, but at the end, your chalkboard painted dresser will be more playful and more fun than a standard dresser.
For more information, there are a variety of helpful tutorials online, some from well-known names
and others from independent bloggers
who have actually completed this project in their own home. For more ideas about what you can do with chalkboard paint, check out our recent blog post
listing our favorite chalkboard paint projects.
To purchase materials, stop in at any Ace Paint and Unfinished Furniture. We’ve got everything you need–including unfinished dressers! We look forward to helping you with your upcoming project answering your questions.
One of the wonderful things about good wood furniture is that it doesn’t have to be merely functional. It can be beautiful as well. We’ve seen some amazing pieces made with wood stains that are more than just furniture, they’re works of art. So if you’ve got an old table, desk or other piece of wood furniture that needs jazzed up, why don’t you consider using some of our great stains to try one of these ideas.

