How To Paint A Faux Leather Wall
Sam Lutz • February 2, 2016
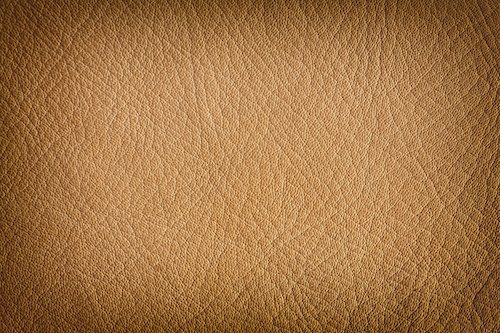
Faux leather walls have sophistication and elegance, and are perfect for rooms of the home that are dedicated to intellectual pursuits, like libraries, home offices and game rooms. The true challenge of this particular type of faux finish is in achieving the proper texture. In this step-by-step guide, we'll tell you how to get the look and feel of real leather using basic tools found in craft and paint supply stores.
Materials
- Base Paint Color
- Paint Roller
- Tissue Paper
- Top Coat Color
- Paintbrush
- Rags
- Razorblade
- Ruler
Process
In this project, you'll achieve the texture of leather with crushed tissue paper. While some people use glue to adhere the tissue to the wall, you can just as easily get the tissue paper to stick to the wall with a base coat of paint.
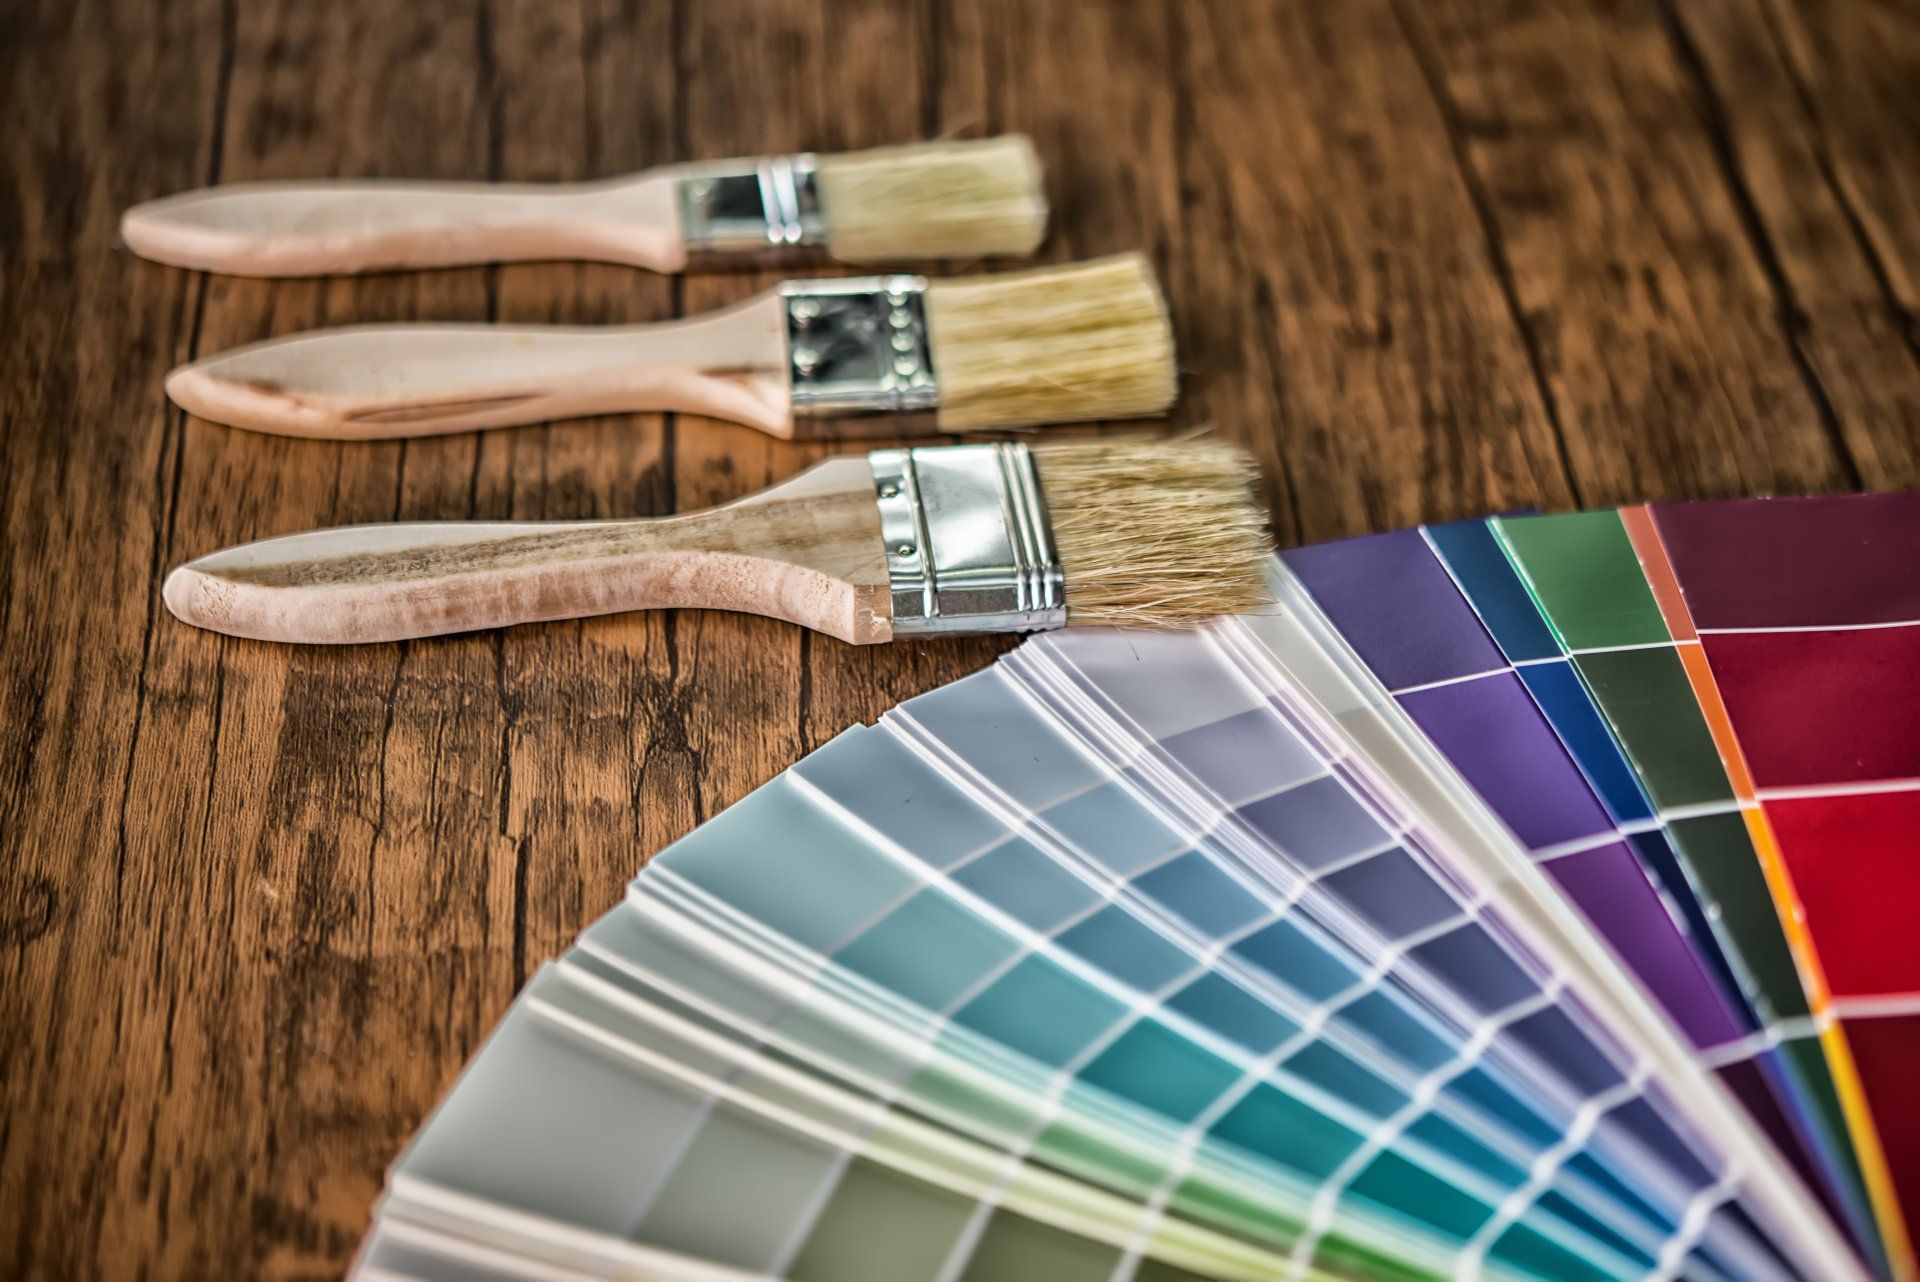
Before you can purchase your materials, you'll need to decide which color to use as your base coat and which color to use as your top coat. We recommend experimenting on a poster board with sample paint colors. For a lighter leather, use a creamy, light-brown base coat and a medium-brown top coat. For a darker leather, use a medium tone base coat and a darker brown paint on top. To test the combinations of paint, simply paint the base coat onto your poster board, allow it to dry, then apply the top coat and buff it off with a rag. When you're confident that your base and top coat are the colors you seek, then you can proceed.
- Crush the tissue paper into a ball and then open it up. Tear off the edges of the tissue paper to prevent the straight edges from appearing in your faux finish.
- Use a roller to paint the walls with the base coat of paint. Work in small sections of 4 feet by 4 feet, to prevent the paint from drying before you're able to apply the tissue paper.
- Apply the tissue paper to the wet paint, then use the paint roller covered in wet paint to smooth the tissue paper so that all you can see of the tissue paper are small crinkles. It's important to paint over the tissue paper with the base coat. Allowing the base coat to soak into the top of the tissue paper will prevent the top coat from being absorbed into the tissue paper later on. When applying adjacent pieces of tissue paper, overlap the edges of the tissue paper by approximately 1/2 inch.
- Continue to apply wet paint, then tissue paper, then another layer of wet paint until the entire wall is covered in painted tissue paper. Allow the paint to fully dry before moving on to the next step.
- Using the paint brush, paint the top coat of paint onto the tissue paper. Work the paint deep into the folds of the tissue paper, so that none of the base coat is visible.
- Use clean rags to buff the top coat and achieve a mottled look. Paint the entire wall in this fashion, then allow the paint to dry before moving to the next step.
- Use the razor blade to cut off any excess tissue paper at the edges of the walls. If necessary, use a ruler to achieve a straight edge.
That's it! You'll find the tissue paper has a soft, crinkled appearance very much like natural leather. Before you get started, we recommend practicing this technique on a few pieces of spare plywood to ensure that you know what you're doing and that you like the end results.
For more tips and advice, take a look at the YouTube video below:
You can also check out these simple online tutorials:
And of course, you're always welcome to stop in at Ace Paint and Unfinished Furniture
for tips, advice, paint samples and other painting materials.
One of the wonderful things about good wood furniture is that it doesn’t have to be merely functional. It can be beautiful as well. We’ve seen some amazing pieces made with wood stains that are more than just furniture, they’re works of art. So if you’ve got an old table, desk or other piece of wood furniture that needs jazzed up, why don’t you consider using some of our great stains to try one of these ideas.

