Create An Outdoor Chalkboard Everyone Will Love
Sam Lutz • June 27, 2017
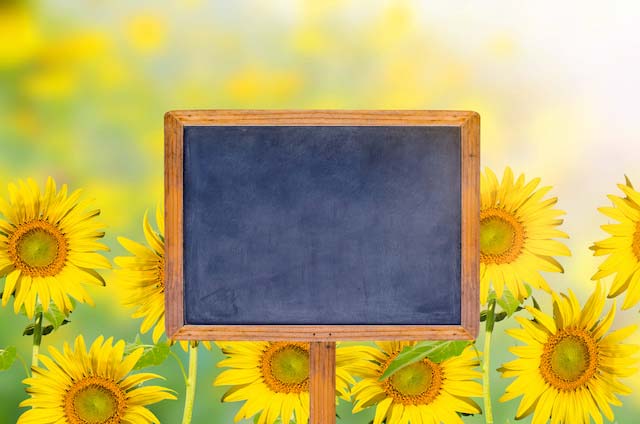
Kids love to chalk up the sidewalk and patio during hours of play. This activity may be fun for kids, but it can also lead to chalk dust getting tracked into the house on the bottom of their feet. Outdoor chalkboards are a great solution to this problem. With a chalkboard attached to the privacy fence in the back yard, parents are happy because there’s less mess, and kids are happy because they have an outdoor drawing surface.
Materials
- Exterior grade primer and paint
- Unsanded grout in coordinating color
- Paintbrushes
- Tarps
- Wood filler/putty
- Electric sander
- Plywood board in the size desired
- 2x4s to create a frame around the plywood board
- Screws
- Coat hook
- Bucket
- Drill
Make Your Chalkboard Paint
To make your chalkboard paint, combine exterior grade paint with the unsanded grout in proportions of two tablespoons of grout for every one cup of paint. Before you add the grout, set aside some exterior paint, as this will be used to paint the back of the plywood board as well as the frame around the chalkboard.
Prep Your Chalkboard Surface
Fill in any holes in the plywood using the wood putty, then let the wood putty dry for the manufacturer’s specified amount of time. Once the putty is dry, use the electric sander to sand down the surface of the board so that it is smooth.
Install the Frame
Measure the sides of the chalkboard and then cut 2×4 pieces of wood to fit the sides of the board to form the frame. Use exterior grade waterproof liquid nails to attach the parts of the frame to the board. Reinforce the frame by drilling screws through the frame and into the board. Countersink the screws so they’re not sticking out from the frame.
Paint the Chalkboard
Lay the chalkboard down on the tarp and use the rags to clean off any sawdust from the plywood. If the plywood gets wet during the cleaning process, wait for the plywood to dry. Prime the plywood (front and back) with the exterior grade primer, and wait for the primer to dry. You’ll be able to tell that the primer is done drying when it no longer feels tacky to the touch.
Next, coat the front of the chalkboard with the chalkboard paint that you made. Wait for the chalkboard paint to dry, then apply a second coat. When that’s finished drying, paint the back, sides and frame of the board with the exterior grade paint you set aside. When the exterior grade paint has finished drying, apply a second coat, then wait for that to dry.
Put Up the Board
Use a drill to screw the board into a fence in your backyard using ceramic coated deck screws. Tip: measure the thickness of the board and fence together and choose screws that will not poke out the back of the fence when they’re drilled in. Insert the screws around the edges of the chalkboard. Countersink the deck screws so they’re embedded in the wood.
Add the Finishing Touches
Attach a coat hook to one side of the chalkboard frame. Fill the bucket with chalk, then dangle it from the coat hook on the side of the chalkboard. Your chalkboard is ready to use! A word of caution: the bucket should not be left in the rain. Have the kids bring the chalk bucket indoors whenever they’re finished using the board.
Stop In At Ace Paint for Exterior Grade Paint and Supplies
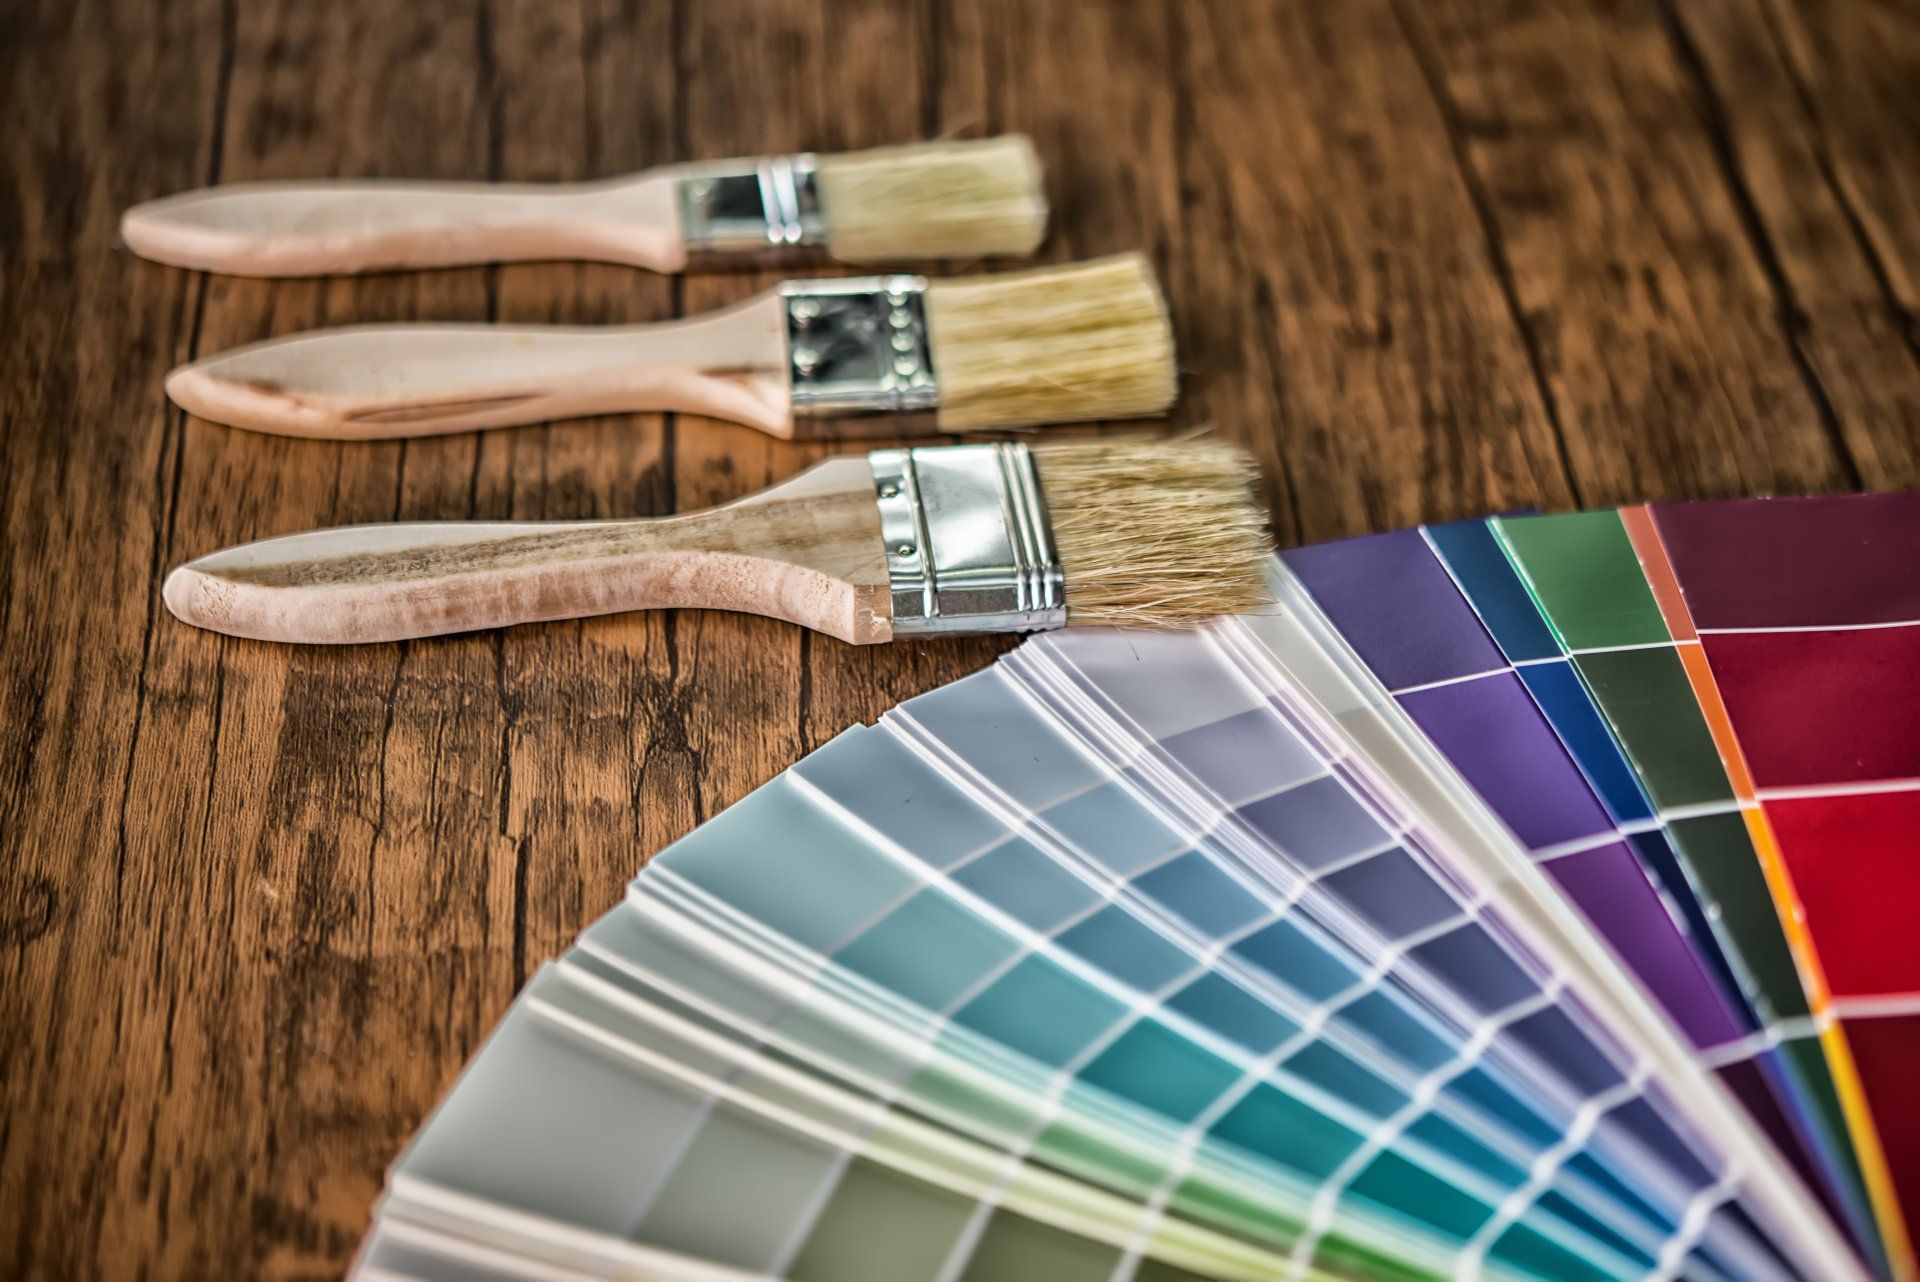
Do you need paint brushes, exterior grade paint and tarps? Ace Paint and Unfinished Furniture has the painting supplies you need to complete your project. Stop in today at one of our convenient locations
for quality paint, paint brushes and more.
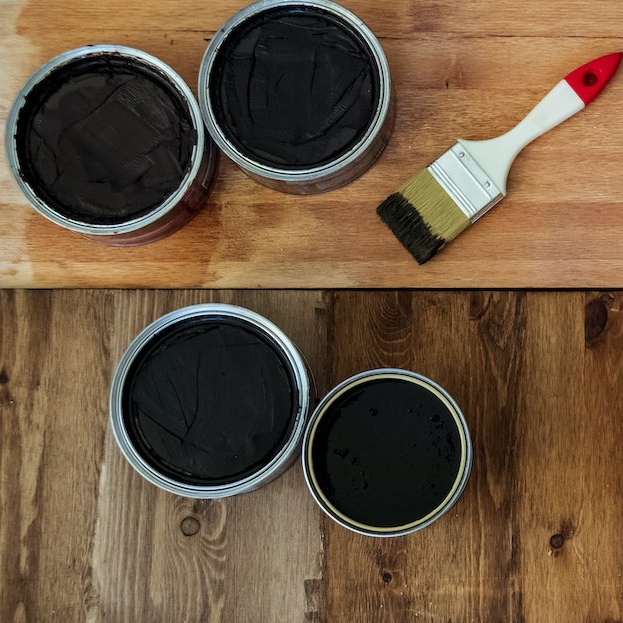
One of the wonderful things about good wood furniture is that it doesn’t have to be merely functional. It can be beautiful as well. We’ve seen some amazing pieces made with wood stains that are more than just furniture, they’re works of art. So if you’ve got an old table, desk or other piece of wood furniture that needs jazzed up, why don’t you consider using some of our great stains to try one of these ideas.

