Properly Prep Your Walls Before Painting
Sam Lutz • December 2, 2014
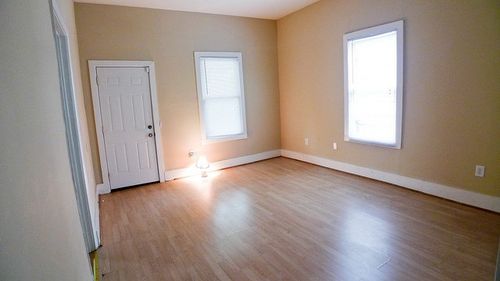
Before you can paint your walls, you must prep them. Prepping the walls involves readying the surface to accept paint, removing any protrusions from the wall, and smoothing the wall’s surface. Follow these steps to ensure that your walls are ready when your painting project begins.
Materials:
- Tarps
- Rags
- Vacuum Cleaner
- Bucket
- Soap
- Hammer
- Spackling
- Paint Scraper
- Light-Grain Sand Paper
- Blue Painter’s Tape
- Plastic Sheeting
- Screw Driver
- Plastic Baggie
Step-by-Step:
- Push all furniture away from the walls. Cover the furniture with tarps, to protect them.
- Clean the walls.
- Wipe down the walls with a dry rag to remove any dust and spider webs. Pay close attention to the upper corners and the areas where the wall meets the ceiling, as these spots tend to be the dirtiest.
- Use a vacuum cleaner extension to suck dust out of the areas where the floor meets the walls and the walls meet the ceiling.
- Use warm water and a mild detergent to clean any crayon marks or soot on the surface of the wall. Pay special attention to rooms that have fire places in them, as these rooms will often have a build-up of dust and soot on the wall above the hearth. This soot can affect the paint’s ability to adhere to the wall.
- Dry the walls if any water or soap remains.
- Use the claw of a hammer to remove all nails from the walls.
- Fill in any holes in the walls with spackling, then scrape off any remaining spackling with a paint scraper. Allow the spackling to dry. The recommended drying time will be written on the package. Sand the patched area after the spackling has dried, to ensure that the patched area is seamless and invisible beneath the new paint. Note: Some spackling shrinks when it dries. If this is the case, two coats may be necessary.
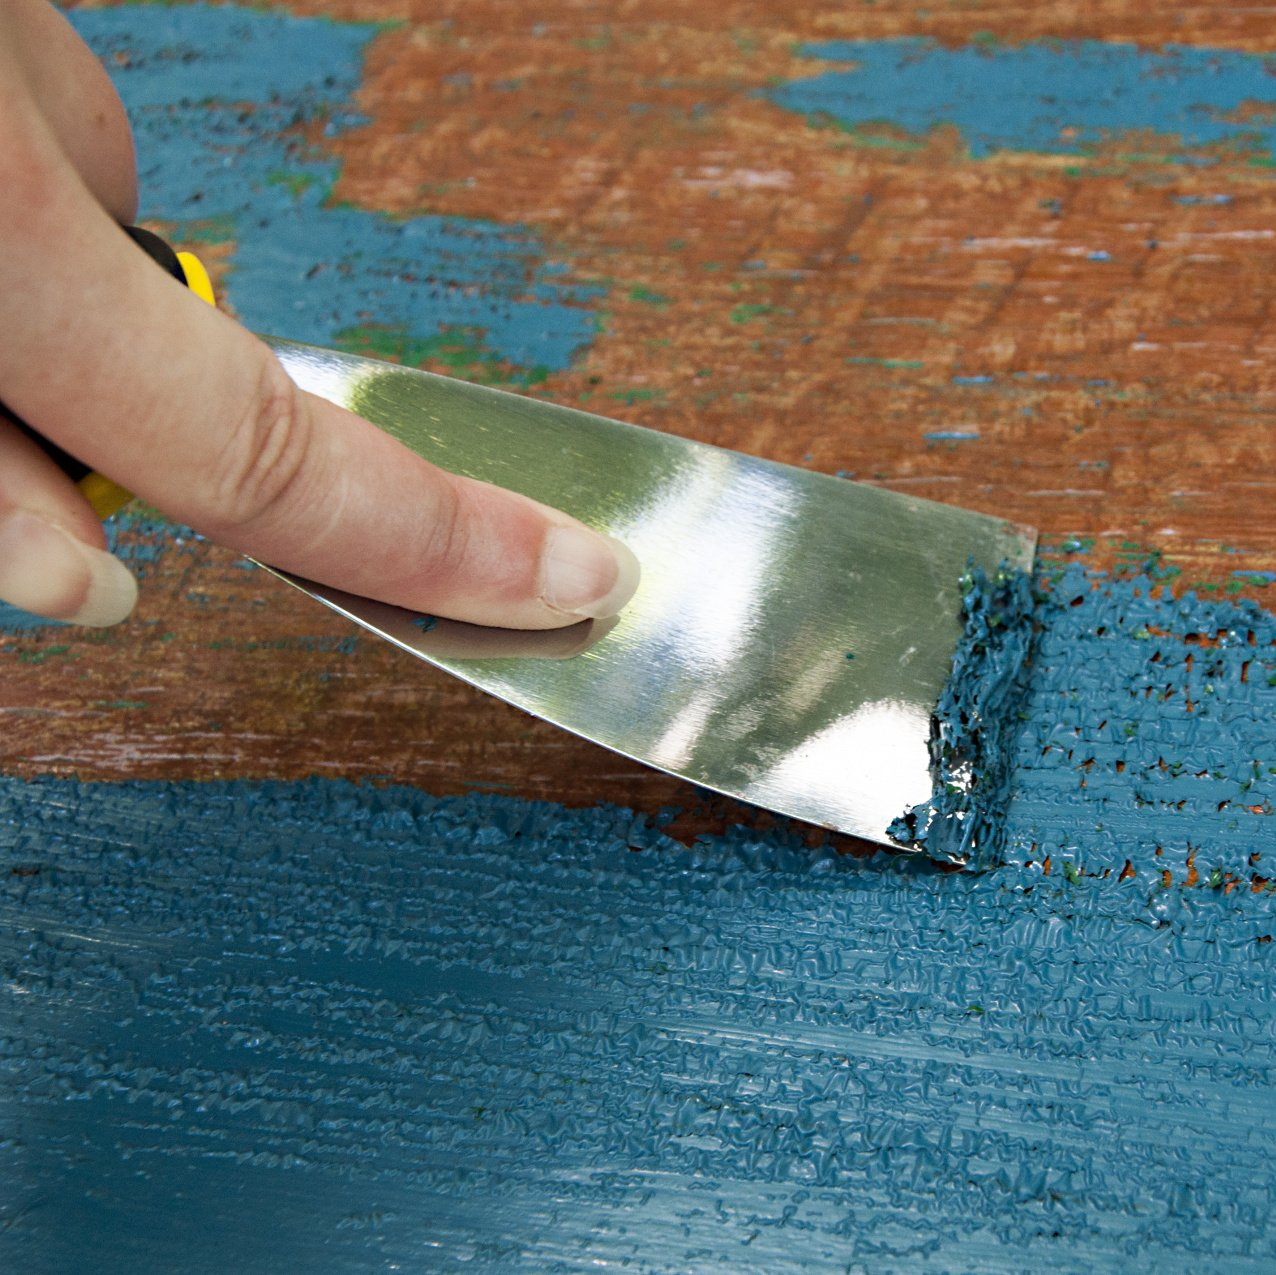
- Sand down any peeling paint, and remove large loose chunks of paint with a paint scraper.
- Cover any areas on the walls that should not be painted. Use blue painter’s tape to cover small areas, and large sheets of plastic taped to the walls to protect any large areas.
- Use a screw driver to remove any outlet covers, hinges, vent covers and smoke alarms. Keep screws and covers in a baggie together, so that you don’t lose any of the parts.
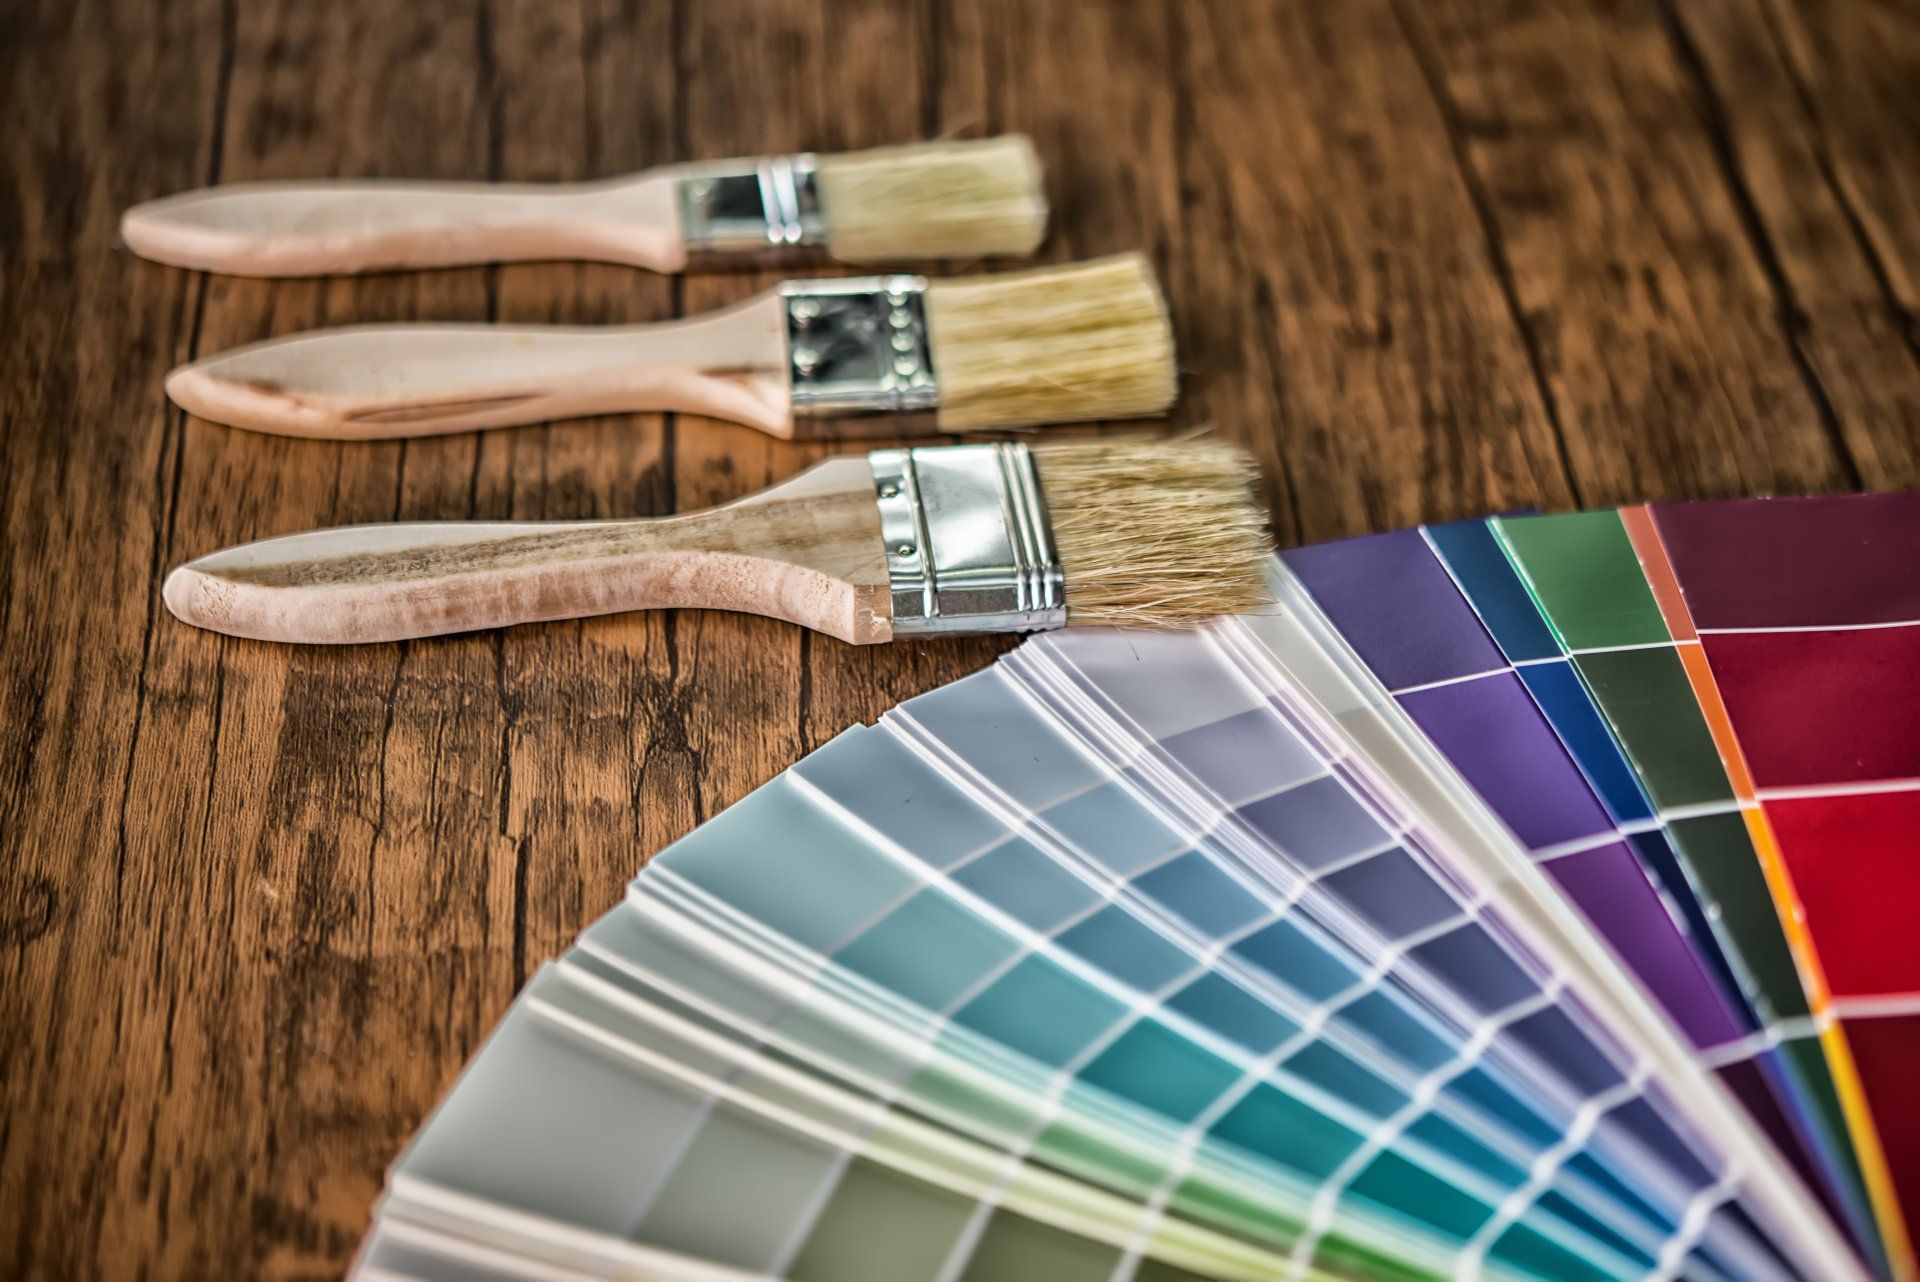
- Apply primer to the walls. This is especially important if you’ll be painting over a dark color that is likely to bleed, or if you are applying a different kind of paint than the type of paint that was originally used.
Additional Resources
Hopefully this tutorial will give you most of the information you need to prepare your walls. If you’re still looking for more information, check out these tutorials from reputable sources:
- DIY Network: This is a basic step-by-step for preparing your walls.
- Benjamin Moore: This tutorial offers an in-depth look at some of the wall preparation processes.
- This Old House: This video by This Old House offers some insider tips and tricks that can make your task easier.
For more information about preparing your walls for paint, residents of the Pittsburgh area can stop in at Ace Paint and Unfinished Furniture. We’re happy to help!
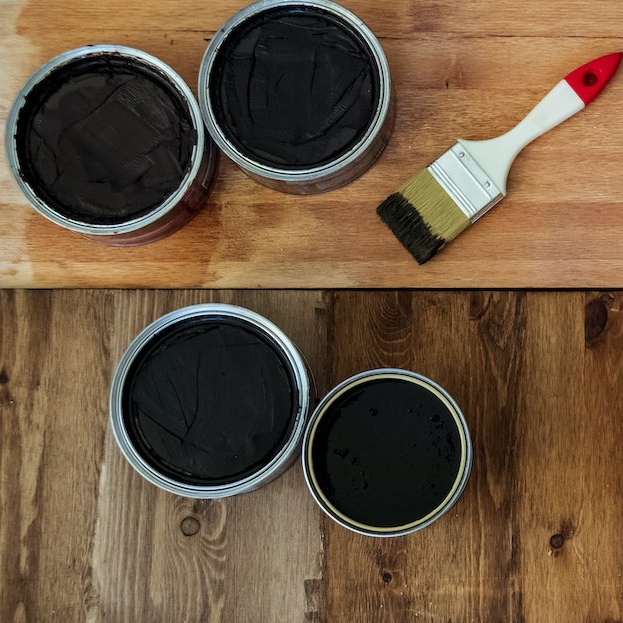
One of the wonderful things about good wood furniture is that it doesn’t have to be merely functional. It can be beautiful as well. We’ve seen some amazing pieces made with wood stains that are more than just furniture, they’re works of art. So if you’ve got an old table, desk or other piece of wood furniture that needs jazzed up, why don’t you consider using some of our great stains to try one of these ideas.

