Proper Dry Brushing Painting Technique
Sam Lutz • September 2, 2014
Paint is a go-to covering for walls for good reason. It’s a classic, cost effective way to hide drywall, and something homeowners can typically do themselves.
Paint is such a go-to that it has become common, leaving more and more homeowners seeking ways to make their paint jobs more distinctive. Dry brushing is a technique long used on home décor that creates a distressed appearance. It’s also perfect for walls in any room, from rustic to modern.
What to Expect with Dry Brushing
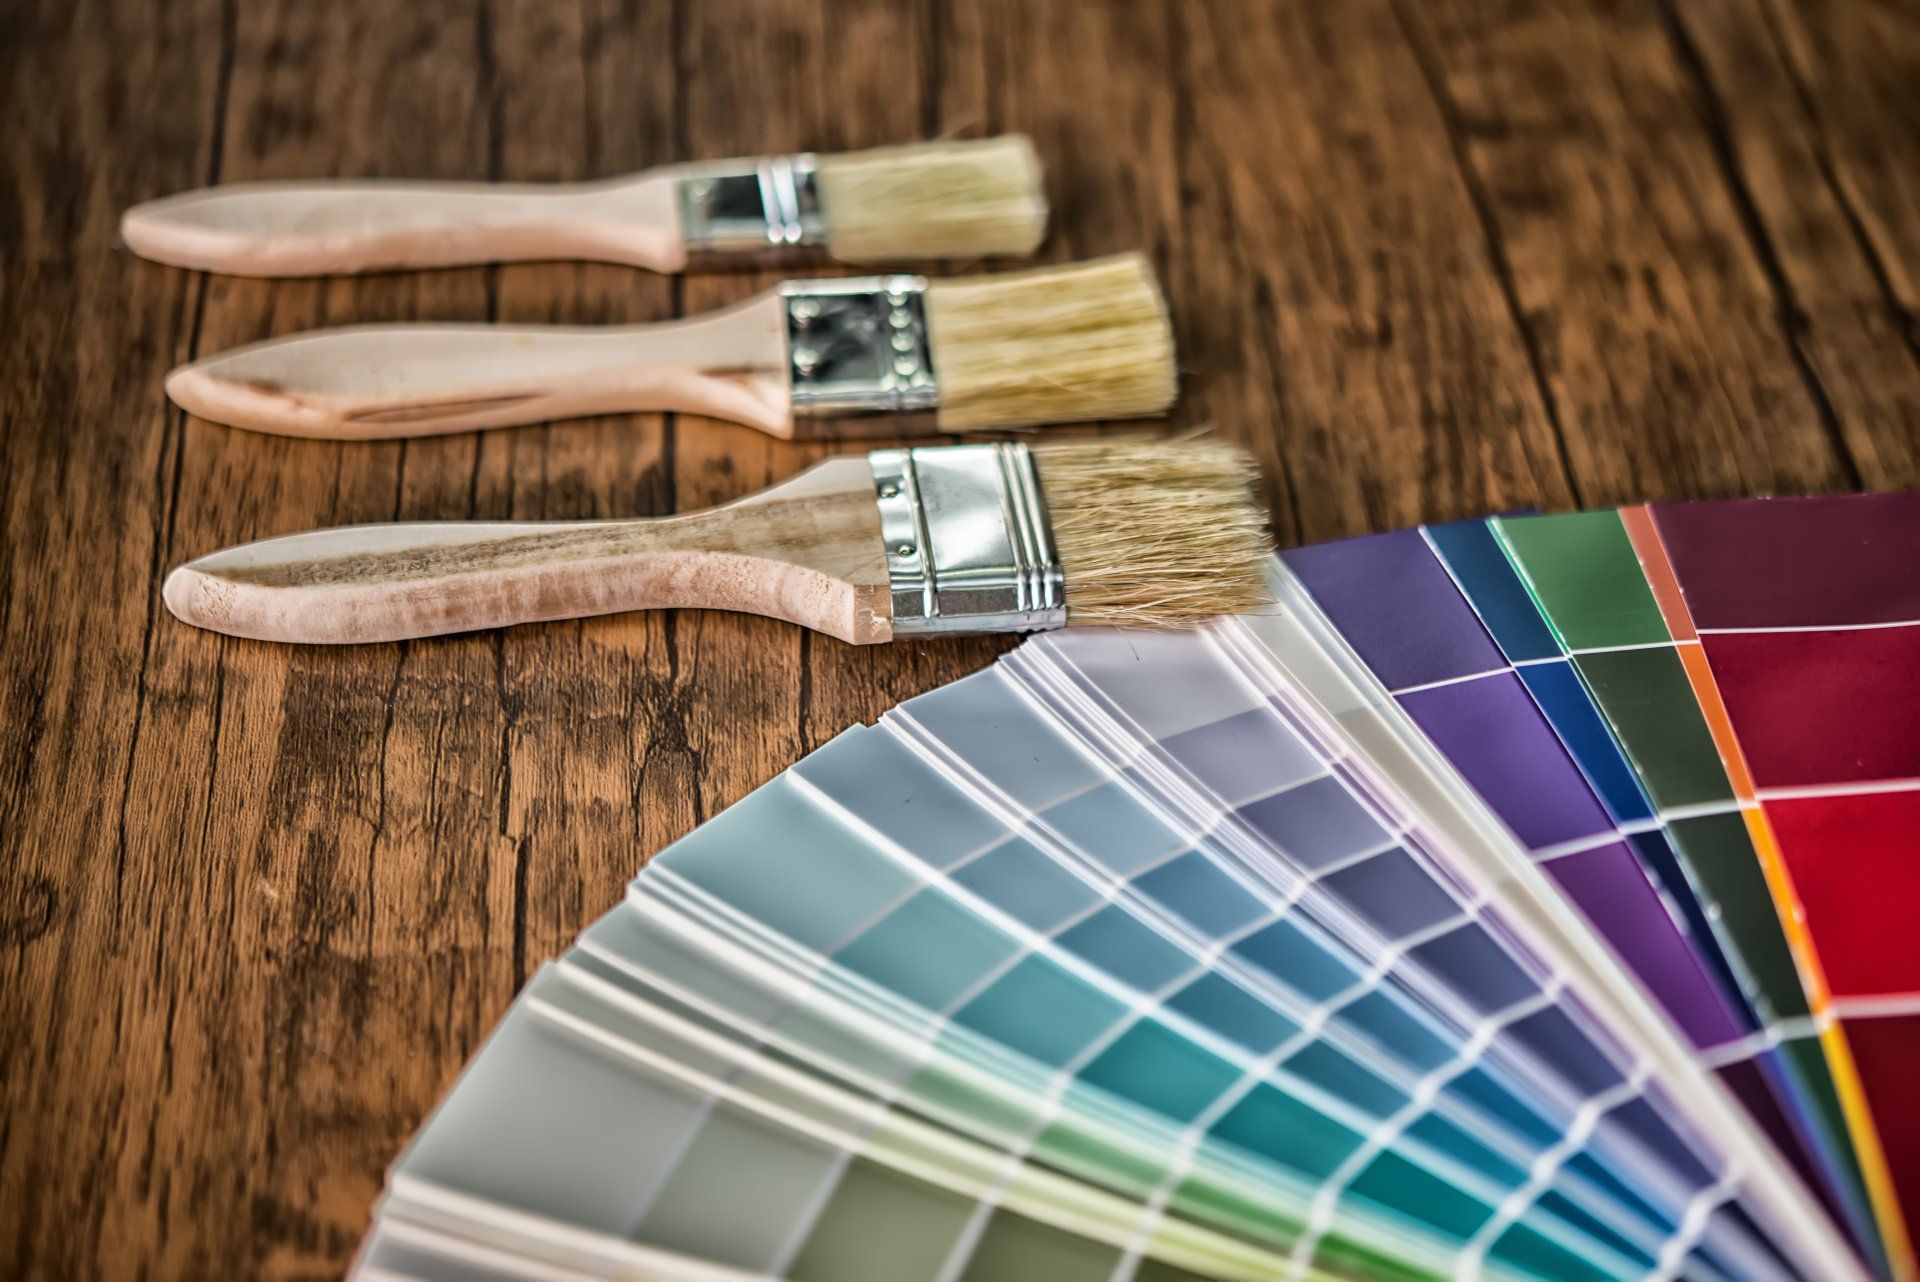
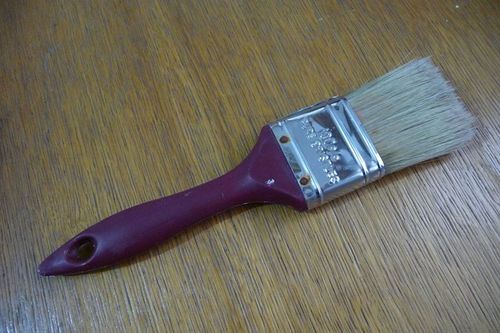
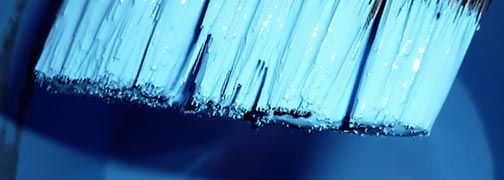
The basic principle of the dry brushing technique is to get paint on a paintbrush, and then remove the paint from the tip. This is done by dipping the brush into a small amount of paint, and then brushing over a piece of wood, cardboard or another paint-absorber until the brush is nearly dry at the tip. Paint remains further back in the brush, which creates a lined, textured, or scraped appearance to the paint job.
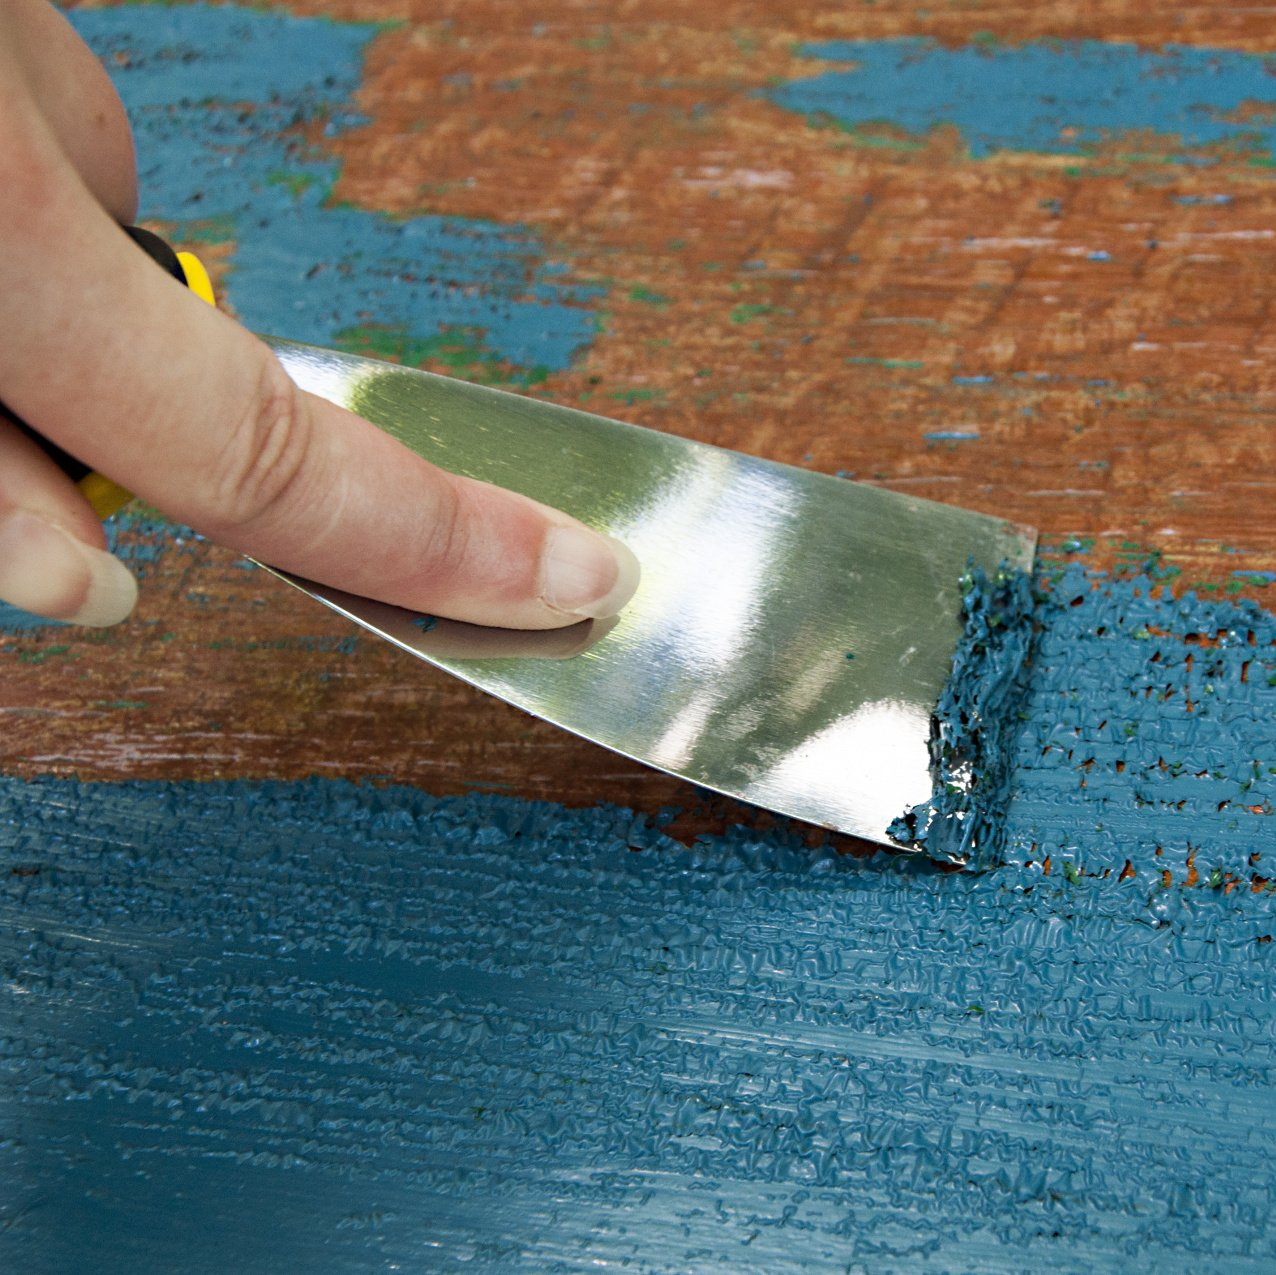
If you use the technique on an object with uneven surfaces, dry brushing gets even more interesting. Since the paint is wiped from the tip, but remains further back in the brush, the raised areas on an object get more paint on them than lowered areas. So, if you have a wall that is peeling, and sort of like the worn look, dry brushing can help turn it into a masterpiece.
Getting Started
Dry brushing can take a little time to get the hang of, so it’s a good idea to practice before you dive in. Try it on some spare wood or a canvas. If you are looking to dry brush an old dresser, start on the back. Practice will help you get a feel for how hard you need to press the brush to get the look you want.
The process itself doesn’t differ much from a regular paint job, and you’ll want to take all those typical first steps, like covering floors and ceiling edges. While you can always sand the surface if you want a smooth look to your design, keep in mind that a little roughness only adds to a dry brush texture. It’s entirely up to you how you want your wall to look.
Mastering the Technique
Before you can dry brush, you must prime the wall. This is especially important if you are covering a wall that is flaking. Without a base primer coat, the wall will continue to break down even with the new paint job, undoing your hard work.
After that, the process itself is simple:
- Pour some paint onto a paper plate or palette, and dip the brush so you get only a small amount on the tip.
- Move the brush over an absorbent surface, like wood or cardboard, until the tip of the paintbrush appears almost dry.
- Brush against the wall in any pattern you see fit.
Other Tips
Using a shallow paint holder, like the paper plate or palette, as opposed to a paint tray helps prevent you from getting too much paint on the brush initially, which is the nemesis of a good dry brush job.
Even if you are making a consistent pattern across an entire wall, breaking the dry brushing up by section simplifies the process, as you don’t have to keep moving your tools across the room.
The best thing about dry brushing is the limitless designs. Once you master the technique, the only limitation to design is your own creativity.
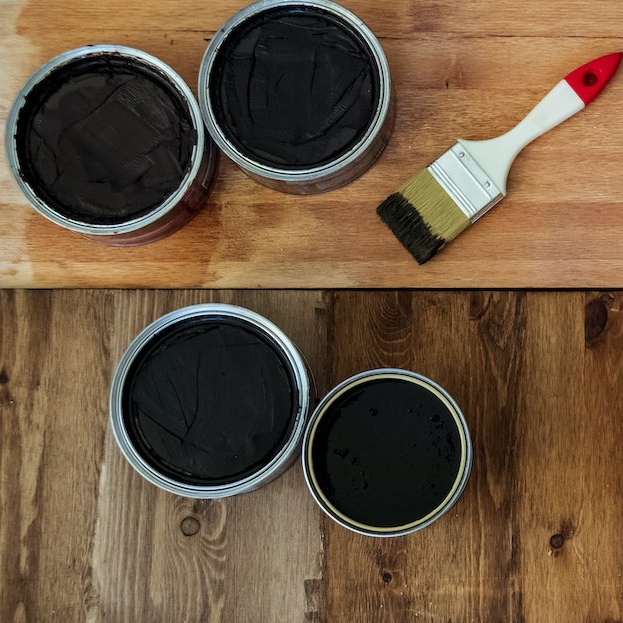
One of the wonderful things about good wood furniture is that it doesn’t have to be merely functional. It can be beautiful as well. We’ve seen some amazing pieces made with wood stains that are more than just furniture, they’re works of art. So if you’ve got an old table, desk or other piece of wood furniture that needs jazzed up, why don’t you consider using some of our great stains to try one of these ideas.

