Perfectly Paint That Particle Board Desk
Sam Lutz • August 25, 2015

Once painted it’s very difficult to tell the difference between wood and particle board. However, these two materials have different characteristics and thus the painting process is different for each. Particle board has no tooth. It’s utterly smooth, and paint can’t stick to a smooth surface.
For real wood furniture, a smooth texture isn’t a problem because the surface of the wood can easily be sanded, giving the paint something to hang onto. Particle board is different because over sanding can cause permanent damage that ruins the piece. In this tutorial, we’ll tell you how to perfectly paint your particle board desk without ruining the particle board. This process is applicable to other forms of particle board furniture.
Take Apart the Desk
Start by removing drawers and hardware. Take off any handles on the particle board, and put the handles and screws in baggies to avoid losing any pieces. Put all the pieces of the disassembled desk on a tarp to prevent paint from dripping on your floor. This project is best done in your garage or outdoors because the fumes from the primer can be strong.
Sand Very Lightly
Rub down the surface of your particle board furniture with a fine 120 grit sandpaper. Do this very lightly, just enough to remove the shine from the particle board. Over sanding can ruin the furniture, so be careful at this step.
Sand all the parts of the desk that you plan to paint. If your desk has drawers, you’ll need to decide whether or not to paint the sides and insides of the drawers. To avoid scratches and adhesion issues, we recommend not painting any parts of the drawers that rub against other parts of the desk. That said, any part of the desk you plan to paint should be first be sanded. Once the desk has been sanded, wipe it down with tack cloth to remove the sawdust from the surface.
Primer is the Key
Primer is the key to creating a surface to which paint can adhere. There are many different types of primer on the market today. People who do this project have had success with oil-based
and water-based
types of primer, although there are some who say that oil-based primer is more durable.
Whatever product you pick, make sure you choose a primer that specifies it’s good for adhesion. Apply at least two thin coats of primer, allowing the primer to dry between coats. Apply primer to all parts of the desk that you’ll be painting.
Paint the Desk
Painting the desk at this point will be much like painting any other piece of furniture. Use an angled brush to paint the corners, and a flat brush to paint the flat surfaces. Use a foam roller to smooth out the paint before allowing it to dry. Apply at least two thin coats of paint to the surface of desk, allowing the paint to dry between coats.
Seal the Desk
Desks can take a lot of abuse over time, especially if it’s used frequently. Sealing the surface of the desk will ensure total durability. Apply two layers of polycrylic to the painted parts of the desk. Polycrylic is a clear water based finish that provides all the protection of polyurethane without the yellowing over time.
Once the painting process is complete and the desk is completely dry, put the hardware back on the drawers and put the drawers back in their slots. Your desk is ready!
This process has been documented in this video:
For more tips, you can check out this tutorial online, or stop in at Ace Paint and Unfinished Furniture. We offer friendly advice on all your painting projects, and we’ll help you stock up on the necessary painting supplies.
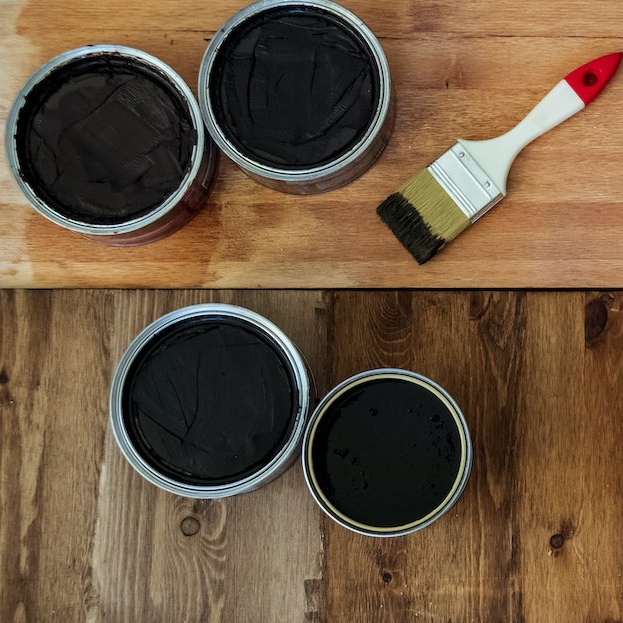
One of the wonderful things about good wood furniture is that it doesn’t have to be merely functional. It can be beautiful as well. We’ve seen some amazing pieces made with wood stains that are more than just furniture, they’re works of art. So if you’ve got an old table, desk or other piece of wood furniture that needs jazzed up, why don’t you consider using some of our great stains to try one of these ideas.

