Inspiring Spring Painting Projects
Sam Lutz • April 22, 2014

Now that spring time is almost here, it’s time to think about those painting projects you’ve been putting off! Inside your house, a fresh coat of paint can make any room in your home gleam. On the outside of your home, structures that took a beating all winter long can look like new again. Paint is a miracle substance in this way–it rejuvenates while it projects.
Front Door
Cover up old chips, scratches, cracks and marks by painting your front door. Pick those colors
that really show your personality! This easy project increases curb appeal and makes your home look warm and inviting!
What You’ll Need
- Screwdriver
- Caulk
- Paint scraper
- Drop cloth
- Angled and flat edge paintbrushes
- Paint roller
- Exterior Primer
- Exterior Paint
When To Do It
When the weather is warm enough that you aren’t running your heat. Remember, the door will be off its hinges for the better part of a day.
Step-By-Step
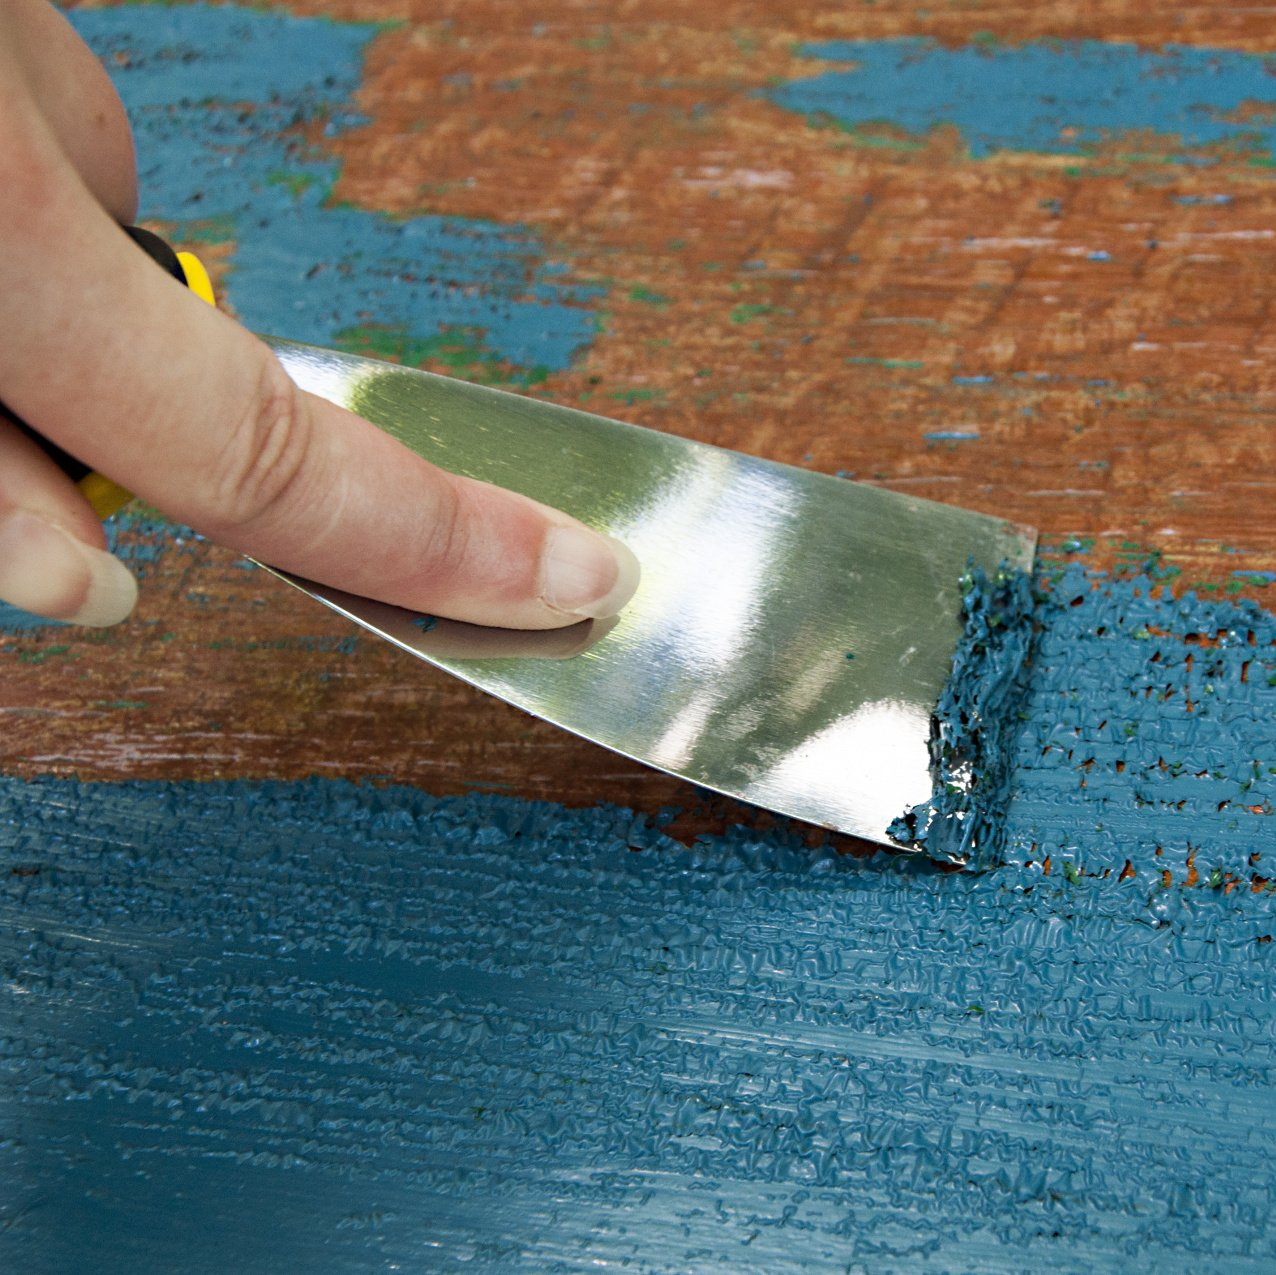
Use a screwdriver to remove the door from its hinges, then lay it flat on a carpenter’s horse. Use a paint scraper to remove peeling paint. Fill in the cracks with caulk, then flip over the door and do the same on the reverse side.
Apply a coat of primer to both sides, then give the door time to dry. Once the primer is dry, paint the door with at least two coats of exterior-grade paint. Give the door time to dry before putting it back on its hinges.
Interior Rooms of the Home
Enhance your spring cleaning project by painting the rooms of your house! A fresh coat of paint will make each room of your house look brand new. If you’re not sure where to start, here are some great ideas from Benjamin Moore.
What You’ll Need
- Screwdriver
- Drop cloths
- Angled and flat edge paintbrushes
- Paint roller
- Interior Paint & Primer
When To Do It
Any time, although a dry day is better than a wet one because moisture in the air can make the walls take longer to dry.
Step-By-Step
Prep the room by laying drop cloths on the ground and removing ventilation covers and outlet covers from the walls. Remove any furniture, or move the furniture to the center of the room and cover with drop cloths.
Cover the walls with primer first, or use a paint and primer combo. Lighter colors may only require two coats, while darker colors may require several coats.
Shed
Once the good weather begins, this is the perfect time to prep your shed for summer. Hot weather and harsh sunlight can be almost as hard on your shed as the winter’s cold and snow. Don’t let this project wait until the unbearable heat of August.
What You’ll Need
- Screw driver
- Paint scraper
- Drop cloths
- Angled and flat edge paintbrushes
- Paint rollers and lengthening poles
- Ladders
- Exterior Paint & Primer
When To Do It
A cool, sunny day when the weather outlook is good. Don’t paint the day before a forecasted rain–give the shed time to fully dry. If your shed is especially large, you may need multiple days to get this project completed.
Step-By-Step
Start by scraping the old peeling paint from the shed. Now is a good time to inspect the wood for rot or trouble spots–you may need to replace boards or use caulk to fill in cracks. Wash down the shed with a hose and wait for it to dry. First apply a coat of exterior-grade primer to the shed. Wait for this to dry, then apply at least two coats of exterior-grade paint. Painting clap board surfaces can be tricky–here are some tips to help.
Don’t forget to remove or cover any door hinges! Painting over door hinges can cause troubles down the road.
Cabinets
Spring is a good time to paint the cabinets because the weather is mild enough outside that you can lay the parts of the cabinets on your back patio or in your driveway to dry. This is a good project to couple with that kitchen renovation project you’ve been putting off.
What You’ll Need
- Screwdriver
- Paint scraper
- Sand paper
- Drop cloths
- Angled and flat edge paintbrushes
- Paint rollers
- Step stools
- Interior Paint & Primer
When To Do It
A dry day in spring with a clear forecast.
Step-By-Step
Remove cabinet doors and hinges. Take care not to lose any screws–keep them sealed in a baggy for the duration of the project. Scrape off the old finish from the doors and cabinet fronts with a paint scraper and sandpaper.
Lay down drop cloths in the kitchen. Paint each part of the cabinets–including cabinet faces and doors–with interior primer. Wait for the primer to dry, then apply two coats (or more, if necessary) of interior grade paint. When everything is dry, return the doors to their rightful place on the cabinets.
Painting cabinets is an involved job that can take a couple days. This Old House has some great tips, if you’ve never done it before.
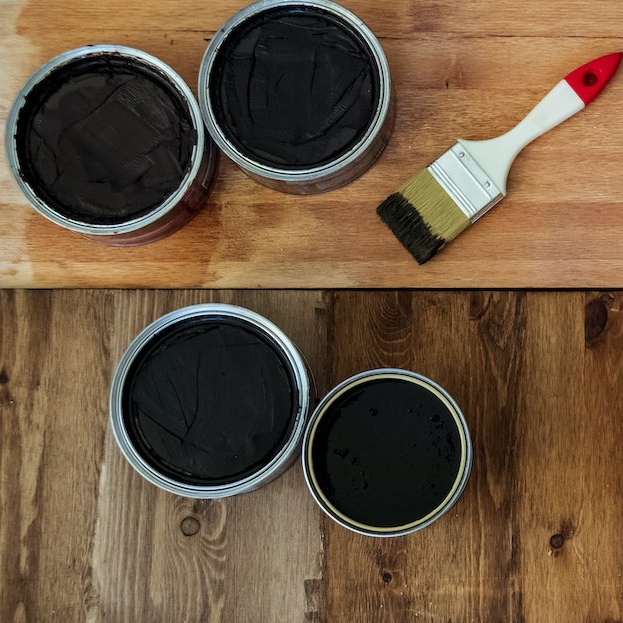
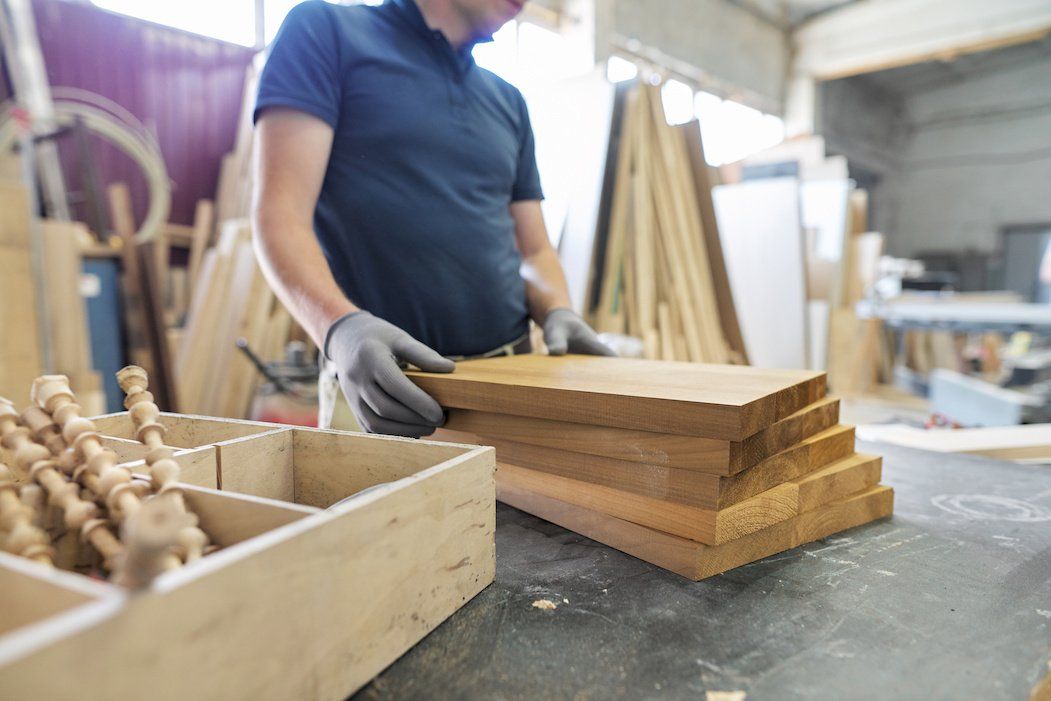
One of the wonderful things about good wood furniture is that it doesn’t have to be merely functional. It can be beautiful as well. We’ve seen some amazing pieces made with wood stains that are more than just furniture, they’re works of art. So if you’ve got an old table, desk or other piece of wood furniture that needs jazzed up, why don’t you consider using some of our great stains to try one of these ideas.

