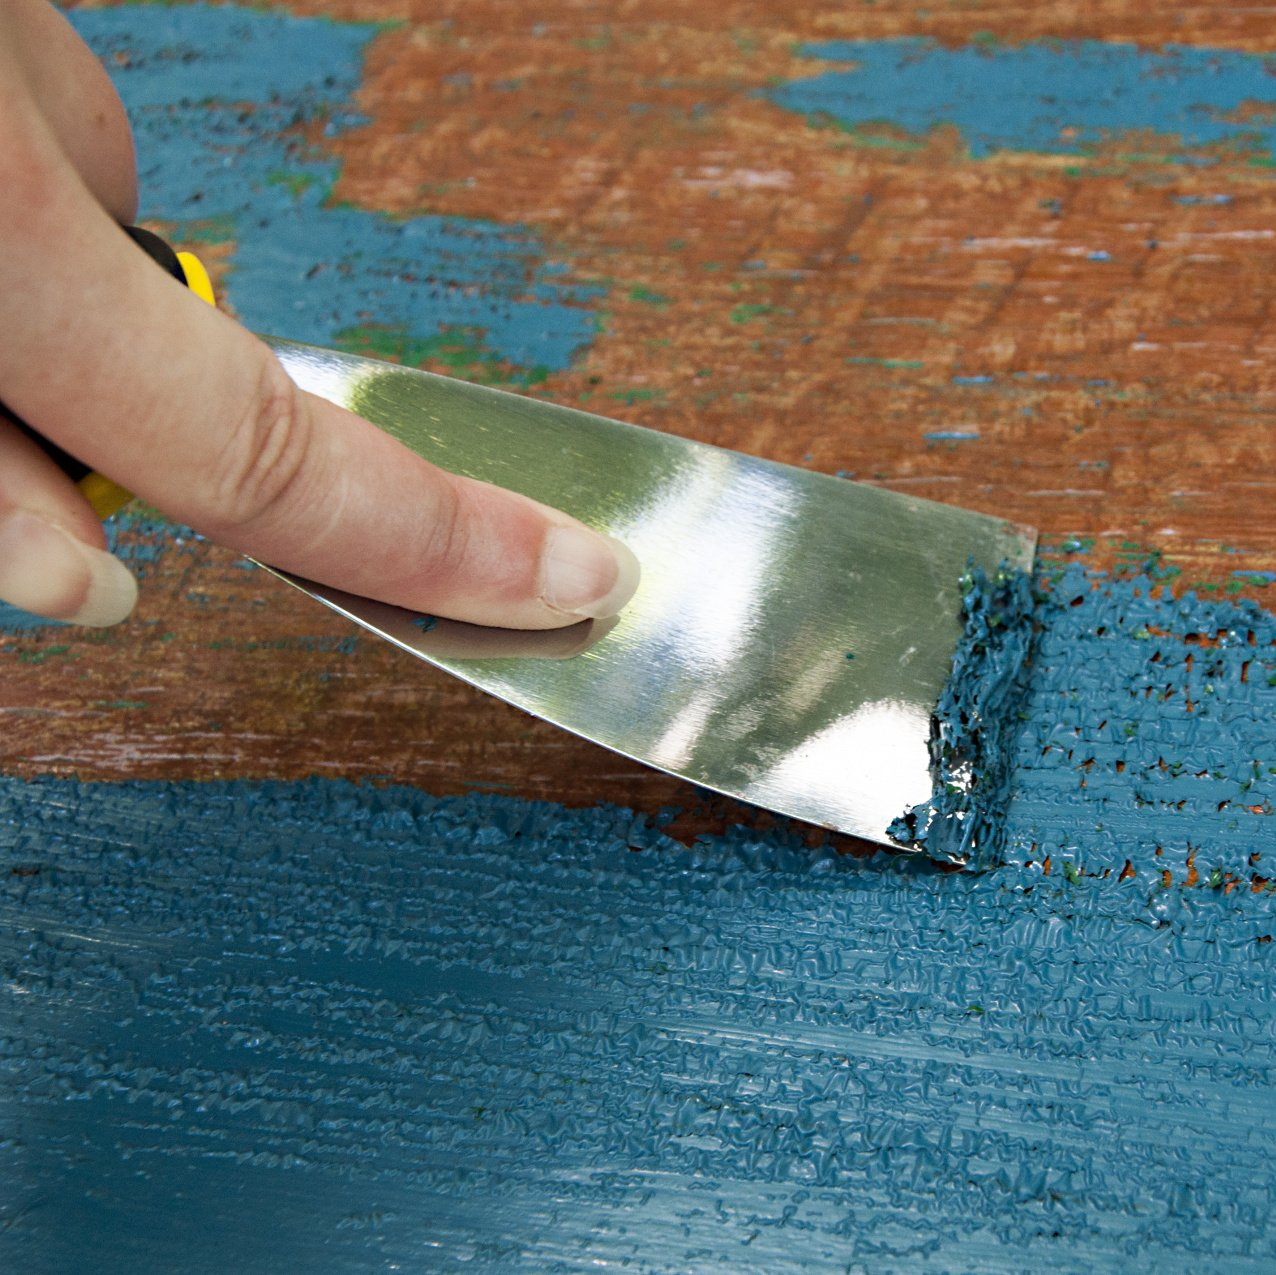
How To Waterproof A Basement
Sam Lutz • November 24, 2015

So, you've got a great basement in your house, and there's loads of room down there, but it's too wet to use for living space. How can you dry up your basement without paying for expensive waterproofing services from contractors?
Actually, it's not as hard as you might think. These tips will help you waterproof your basement on a budget, using relatively simple DIY methods.
Test Your Basement For Moisture
Line the walls of your basement with clear plastic sheeting, and leave it that way for a few weeks. The areas where condensation begins to form will show you the locations of your biggest moisture problems.
Fill the Cracks
Use a concrete patching compound to seal cracks in the floor and walls. Focus your attention on cracks in the areas where you found water under the plastic sheeting, but where ever possible, fill cracks in other areas as well. Look for spaces around pipes that come into and out of the walls and be sure to fill the gaps. Once you're done filling cracks inside, fill the cracks outside your home around the foundation.
Slope Soil Away from Your Home
Soil that slopes toward your home directs water straight at the foundation, and that contributes to leaks in the basement during times of wet weather. To redirect the water, reshape the soil around your house so that all soil slopes away from your home.
Install a Backup Sump Pump
Sump pumps have a way of not working at really inconvenient times. To ensure that your basement is always dry, install a backup sump pump to run when the first sump pump freezes or dies for whatever reason. You can see a video about installing a backup sump pump here:
Add a Downspout Extension to Your Gutters
Your gutters should carry water away from the house. Far away. To do this, you'll need to install an extension on the ends of the downspouts to carry the water at least 5 feet away from the house. Downspout extensions are available at home improvement centers and hardware stores. It also helps to keep your gutters cleaned out, because that prevents them from overflowing and saturating the ground around your home. Clean out your gutters at least once per year, if not more often.
Add Water Proof Masonry Cement
The final step to waterproofing your basement is to paint the walls with masonry waterproofing paint. Before you can do this, test the walls again by putting up clear plastic sheeting. If there's still seepage into the basement, continue your waterproofing efforts as outlined above. If there's no indication of seepage, then you can move on with this process. Note: if the water collects on the side of the plastic that faces into the room, then install a dehumidifier.
Once your basement has been thoroughly waterproofed, paint the basement with the waterproofing paint just like you would other parts of the home. See below:
- Lay down tarps on the floor. Move all the furniture out of the way.
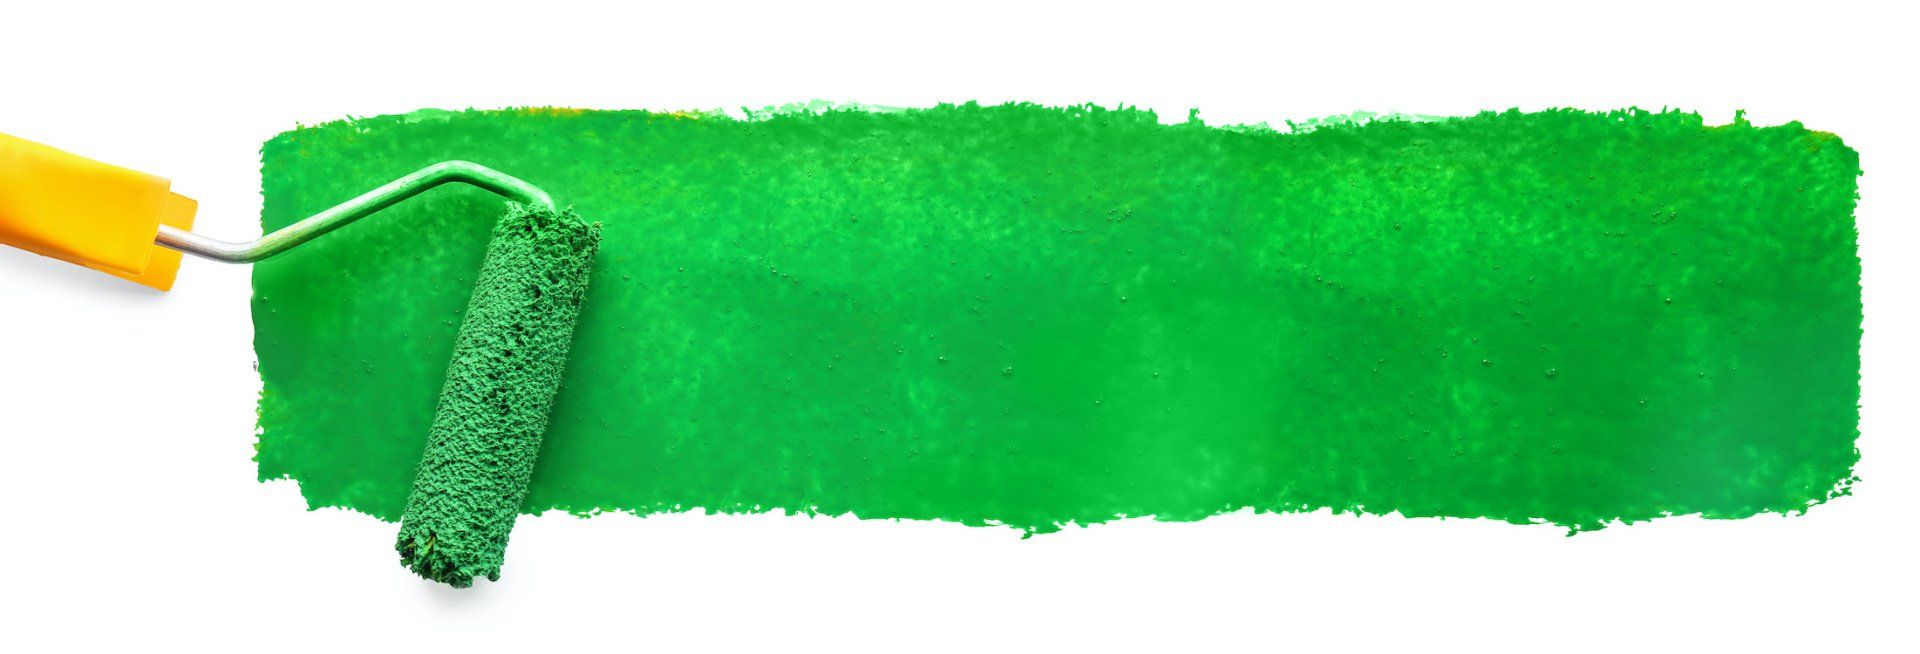
- Use a roller with a thick nap to apply the paint liberally to the walls of the room. It's important that the coat of paint is thick enough to fill all the pores on the walls. If the paint isn't thick enough, you'll need to switch to a paint brush and do it all by hand.
- Paint the tops and bottom edges of the walls with a synthetic bristle paint brush. Apply all paint in thick enough coats that the pores are completely filled.
- Wait 24 hours for the paint to dry, then apply a second coat to the walls.
That's it. Once you've finished painting, you can take down the tarps and put the furniture back in place.
For more information, we recommend watching the video on this link, which provides helpful tips and advice about waterproofing.
If you're in need of masonry waterproofing paint for your basement walls, stop by Ace Paint and Unfinished Furniture. We're happy to help you pick the right product for your needs.
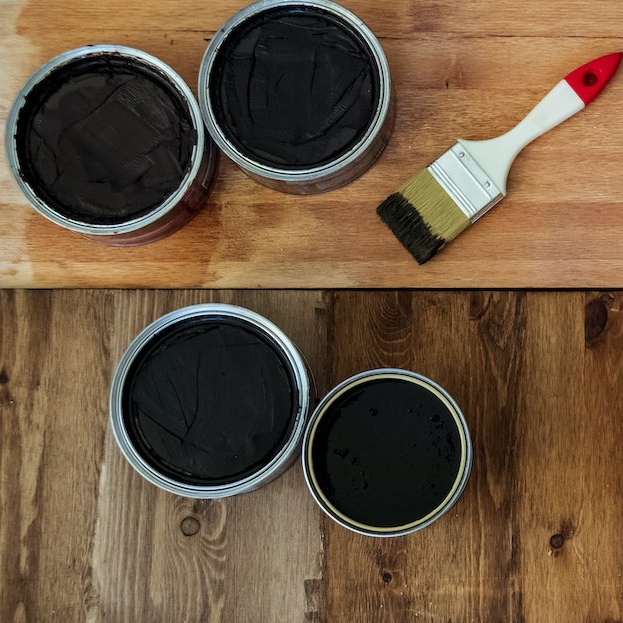
One of the wonderful things about good wood furniture is that it doesn’t have to be merely functional. It can be beautiful as well. We’ve seen some amazing pieces made with wood stains that are more than just furniture, they’re works of art. So if you’ve got an old table, desk or other piece of wood furniture that needs jazzed up, why don’t you consider using some of our great stains to try one of these ideas.

