How To Apply The Smooshing Painting Technique
Sam Lutz • March 22, 2016

Smoosh painting technique may sound like a preschool art project, but this faux finish creates marvelous, dramatic texture similar to the type of texture that you might see on a bed of messy sheets, or in aerial views of mountain ranges. Whether you’re experienced in different faux finish techniques or are trying faux painting for the first time ever, smoosh painting is fabulously easy and the results are impressive. This tutorial will put you through the process step-by-step.
Materials
- Plastic tarps to cover each wall and plastic tarps to protect the floors
- Painter’s Tape
- Paint Roller
- Paint Roller Tray
- Paint Brushes (Angled and Flat)
- Primer
- Latex Semi-gloss paint (base coat and top layer)
- Glaze
- Paint Stick
Procedure
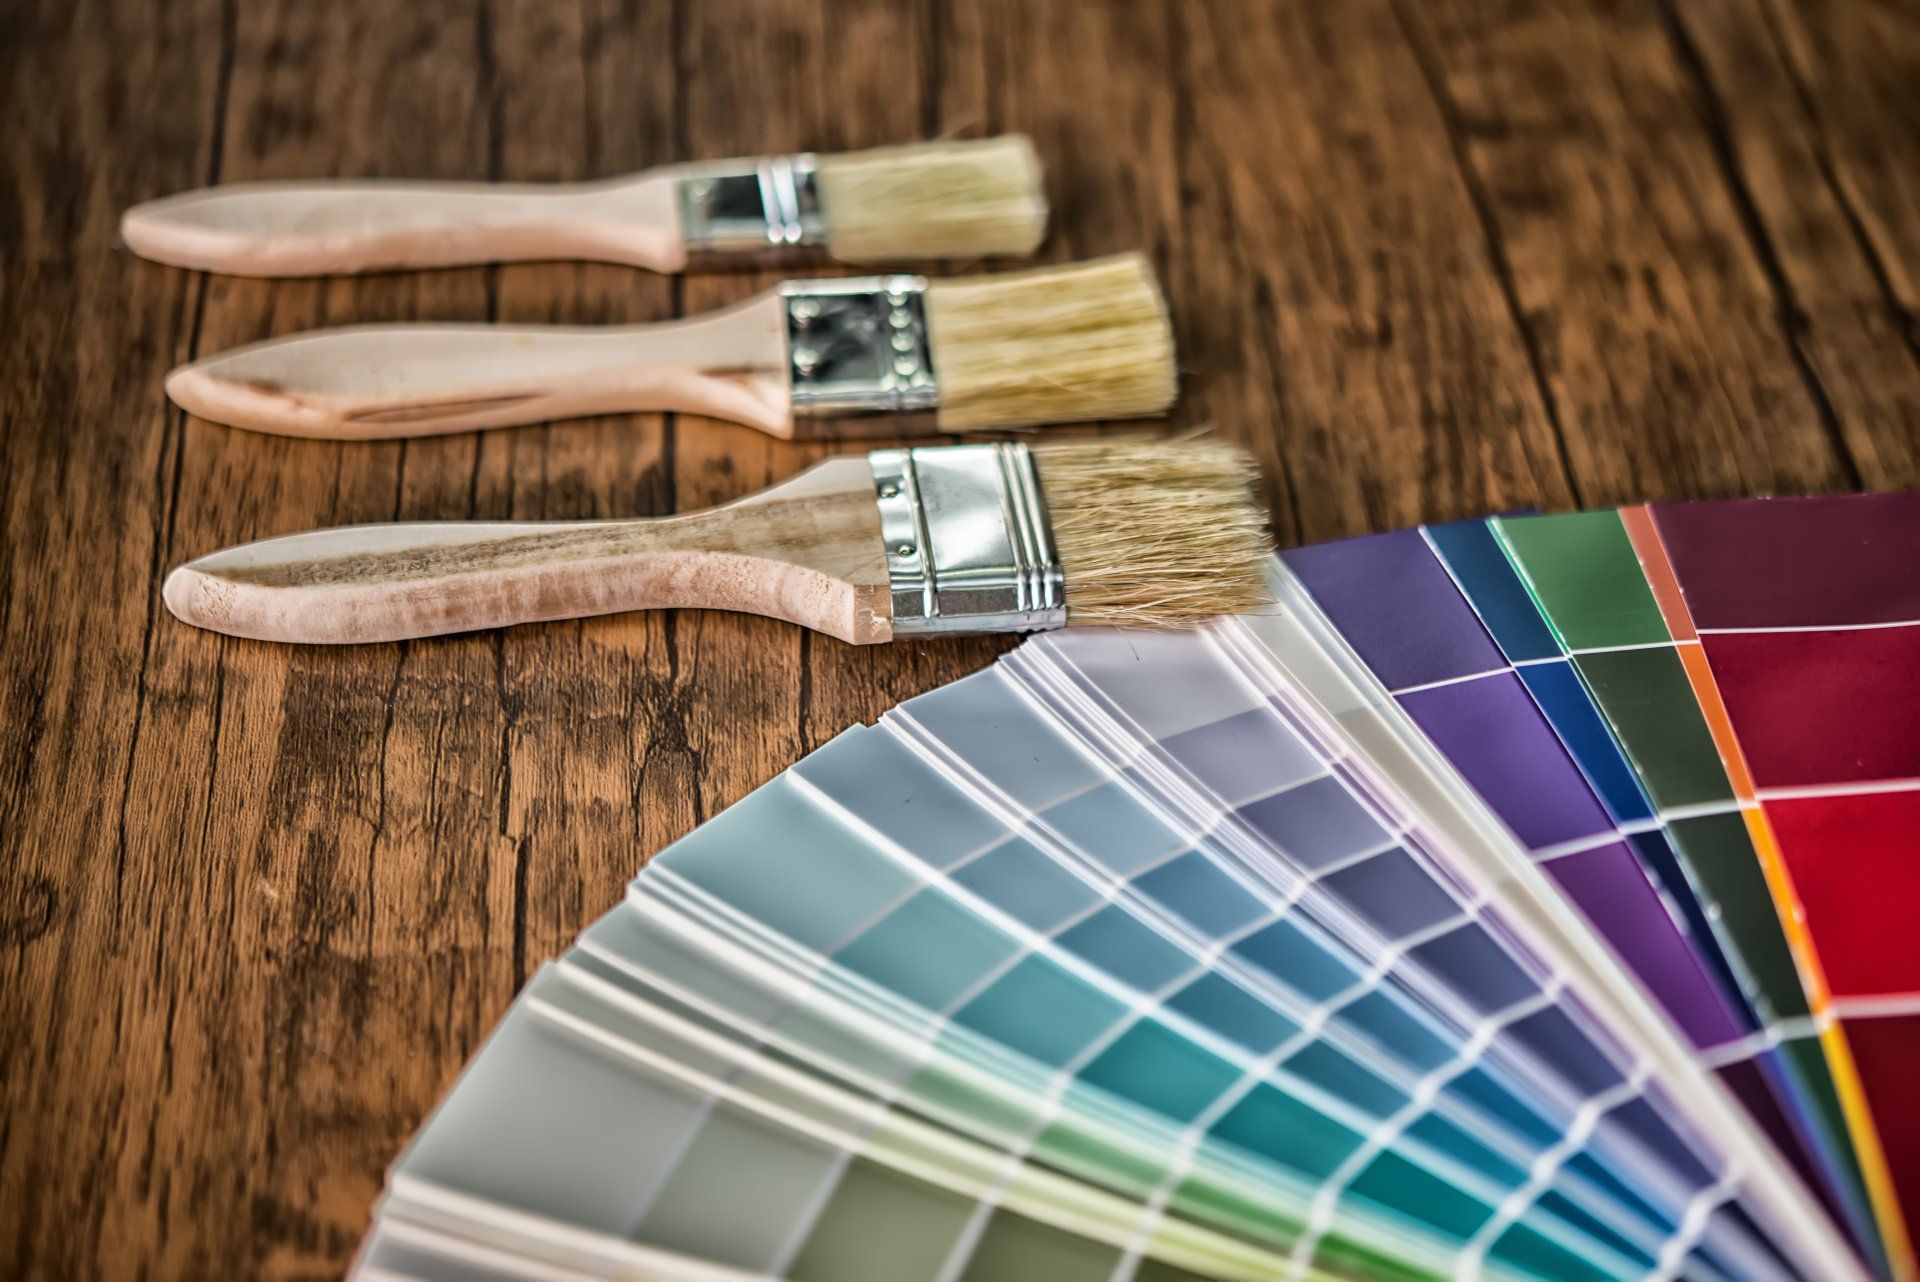
Before you can begin the step-by-step process of actually painting your walls with smoosh technique, you’ll have to start by choosing the colors for your base paint and top coat. Many people who do smoosh painting technique pick lighter tints and darker shades of the same color for their base coat and top coat.
For example, if you want your walls to be blue, you might choose light blue for your base coat and medium blue for your topcoat. Avoid choosing contrasting colors. Choosing contrasting colors can create disharmony on your faux finish, and that can detract from the overall effect.
To paint your walls with smoosh technique, do the following:
- Lay out tarps around the floor of the room being painted.
- Put painter’s tape around the edges of the room to prevent the paint from being applied to places that you don’t want to be painted.
- Prime the walls to start off your paint project with a fresh white surface. Wait for the primer to dry.
- Use a paint brush to paint the edges of the walls with your base coat, and use a paint roller to cover the middle.
- Wait for the basecoat to dry, then repeat steps 4 and 5.
- Mix the glaze with the top coat paint in a paint tray. Mix 4 parts glaze to 1 part paint. Use a paint stick to mix the paint and glaze together thoroughly.
- Apply the glaze and paint mix over the basecoat.
- Spread the extra plastic tarps over the paint.
- “Smoosh” the tarp down over the wet paint. Use your hands to create interesting textures in the tarp.
- Starting at the edge, peel the tarp from the wet paint. When the tarp is removed from the coat of wet paint, it will leave behind indentations and textures in the top coat of the paint. Leave the textures to dry.
Note: the top coat of paint needs to be wet when the plastic is applied. If the surface of the wall is large enough that parts of the paint will dry before the tarp can be applied to the top coat, then it’s a good idea to paint and smoosh in sections.
Resources
For a helpful demonstration, check out the smoosh painting technique in this YouTube video:
You can also check out this tutorial page from Benjamin Moore. For help and advice from a live person, stop in at Ace Paint and Unfinished Furniture. We’ll be happy to help you pick a base coat or a topcoat. We’ll also be happy to help you purchase all the painting supplies you’ll need for your upcoming project. Call us today at 412-531-2029.
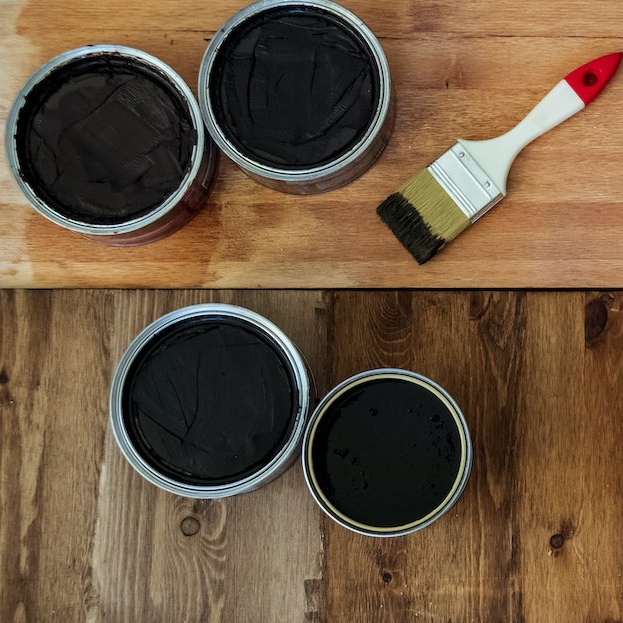
One of the wonderful things about good wood furniture is that it doesn’t have to be merely functional. It can be beautiful as well. We’ve seen some amazing pieces made with wood stains that are more than just furniture, they’re works of art. So if you’ve got an old table, desk or other piece of wood furniture that needs jazzed up, why don’t you consider using some of our great stains to try one of these ideas.

