How to Apply Gel Stain
Sam Lutz • September 5, 2017
Gel stain is an easy to use product that can achieve an even, smooth finish with little time and effort. Even the most scratched and marred pieces of furniture can benefit from a well applied gel stain, while new furniture might end up looking professionally finished when gel stain is properly applied. In this tutorial, we’ll talk about the best way to apply gel stain to your furniture.
Prep the Furniture
Before gel stain can be applied to a wooden surface, the wood must first be prepared to accept stain. Many standard stains require the old finish to be fully removed before a new finish can be applied. Gel stain is different from standard stain in that it can be applied over an old finish with limited preparation. Before applying gel stain, follow this process:
- Remove any hardware from the furniture. Use a screwdriver to remove knobs and hinges before getting started with your project.
- Clean the furniture. Use a microfiber cloth and wood cleaner to clean the furniture. Remove any dust, spider webs, grime and grit from the wood surface.
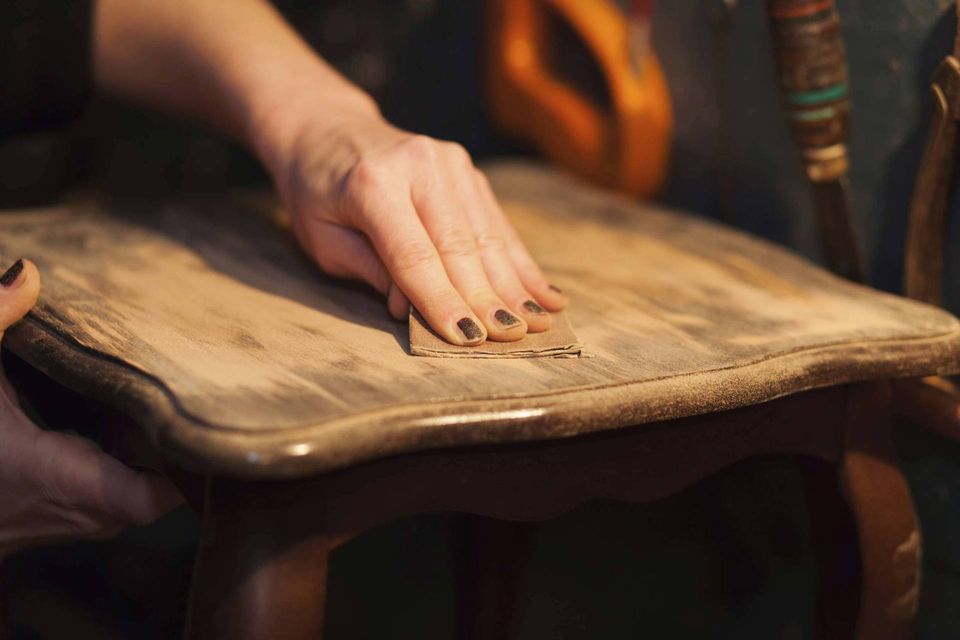
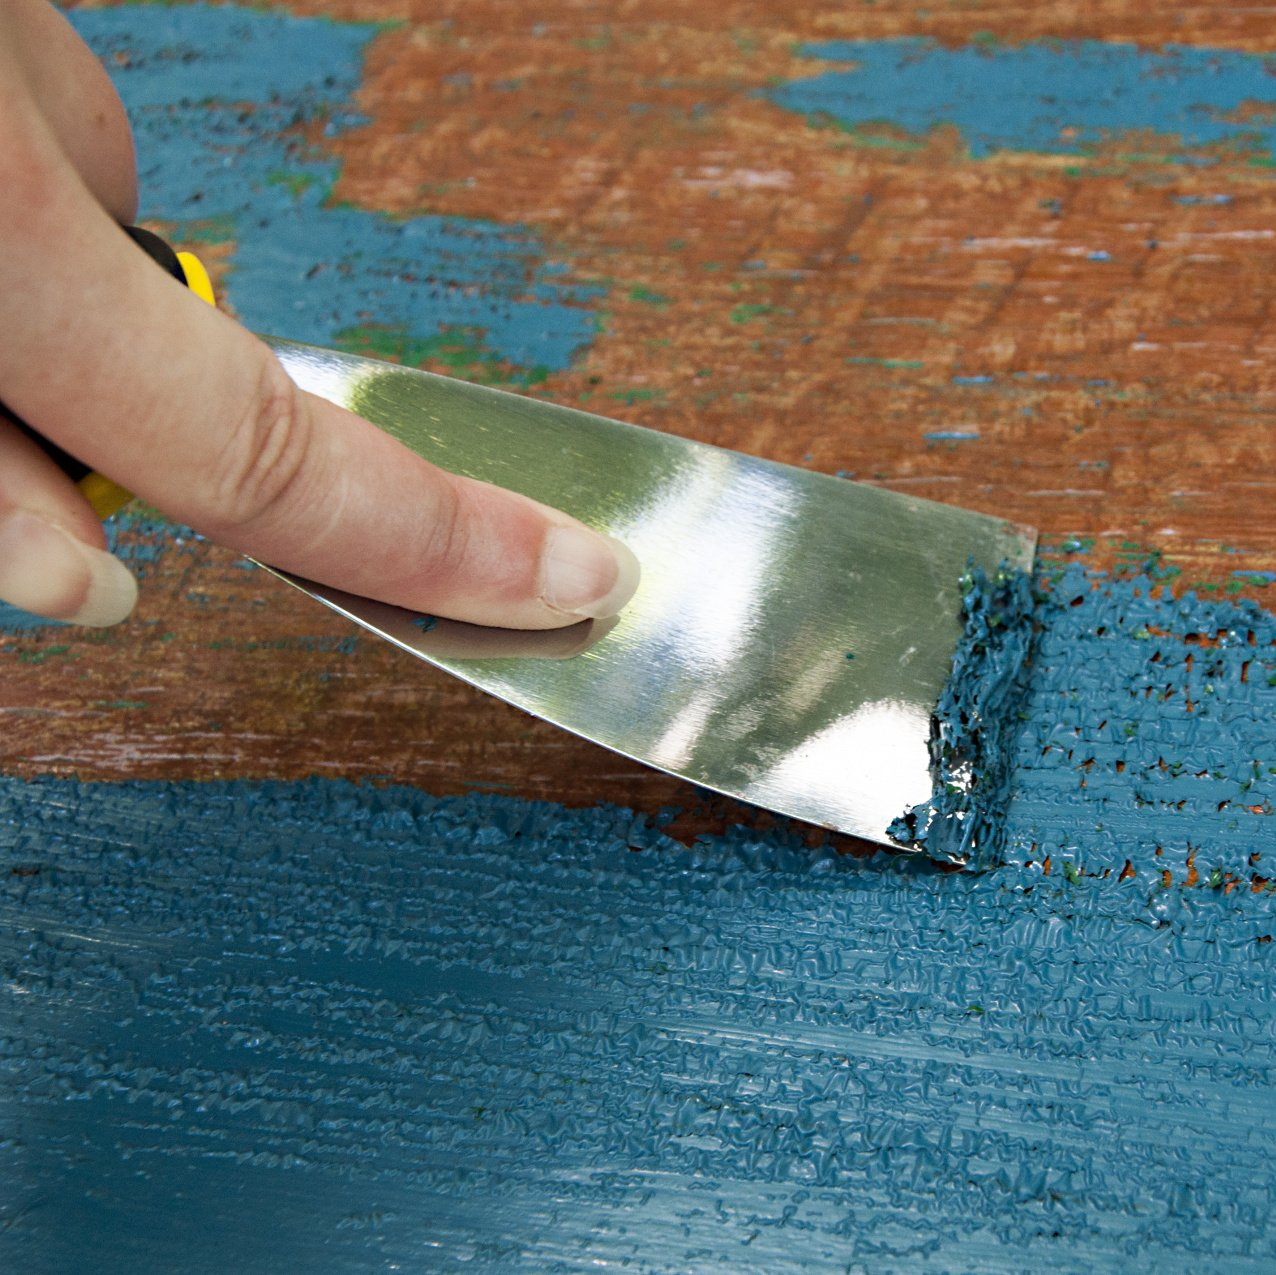
- Sand down the furniture. Use a light grit sandpaper to sand down the surface of the wood. You don’t need to completely strip the stain from the wood, but use the sandpaper to rough up the surface of the wood.
- Clean the furniture again. Use the microfiber cloth to remove any wood shavings from the surface of the furniture.
Once you’ve prepared the furniture, then you can start the staining process.
Apply Gel Stain
Applying gel stain is a relatively easy process, but it’s a different procedure from the application of standard stains. If you’re completely new to gel stain, you might find it useful to practice gel stain application on a piece of scrap wood before applying it to your furniture.
- Use a rag to apply stain. Dip a rag into the stain, then apply the stain to the furniture. Lather the stain generously onto the wood.
- Buff. Buffing is the process of removing excess stain from the wood. Use a clean rag to buff the stain off of the wood.
- Reapply as necessary. Additional coats may be necessary if you’re hoping for a dark, rich finish.
Keep in mind that the stain will begin to dry rather quickly, so if you’re staining a large piece of furniture, apply the stain over a small area. When buffing the stain, use the rag to buff together multiple patches of stain to ensure even coverage over the entire piece of furniture.
Stop In At Ace Paint and Unfinished Furniture
At Ace Paint and Unfinished Furniture, we sell a variety of stains. From traditional stains to gel stains, we have the finishes and materials you need to stain your old furniture. To get started with your staining and home improvement projects, stop in at one of our convenient locations. We can also answer your questions and provide guidance as you start your home improvement projects.
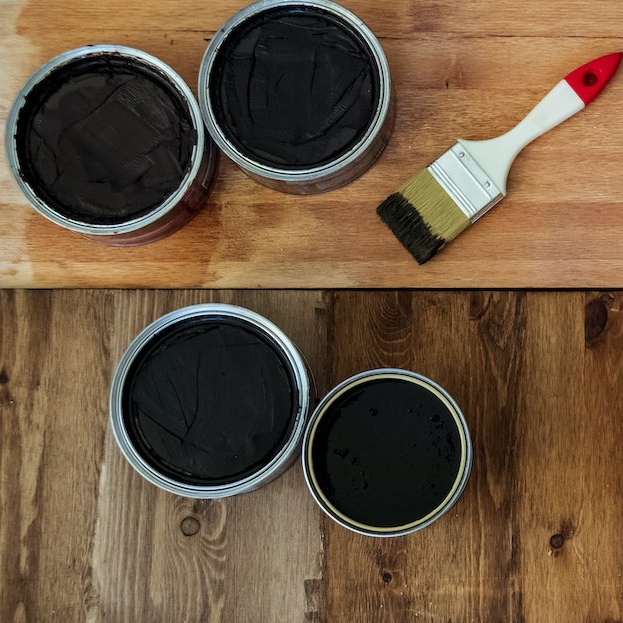
One of the wonderful things about good wood furniture is that it doesn’t have to be merely functional. It can be beautiful as well. We’ve seen some amazing pieces made with wood stains that are more than just furniture, they’re works of art. So if you’ve got an old table, desk or other piece of wood furniture that needs jazzed up, why don’t you consider using some of our great stains to try one of these ideas.

