How to Rag Paint Your Walls
Sam Lutz • February 10, 2015
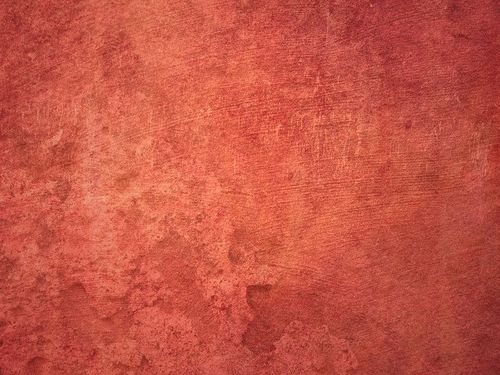
Rag painting creates a soft, textured effect, generating visual interest in any room where it is applied. Rag painting is commonly seen in small rooms like bathrooms, where the soft textures can help mask the dimensions of the room and make the space feel slightly less cramped. There are multiple valid methods to rag painting. The method you use should depend on your own preferences.
Materials:
- Base Coat Paint
- Tarps
- Blue Painter’s Tape
- Plastic Sheeting
- Other materials for wall preparation as needed
- Paint Tray
- Paint Rollers
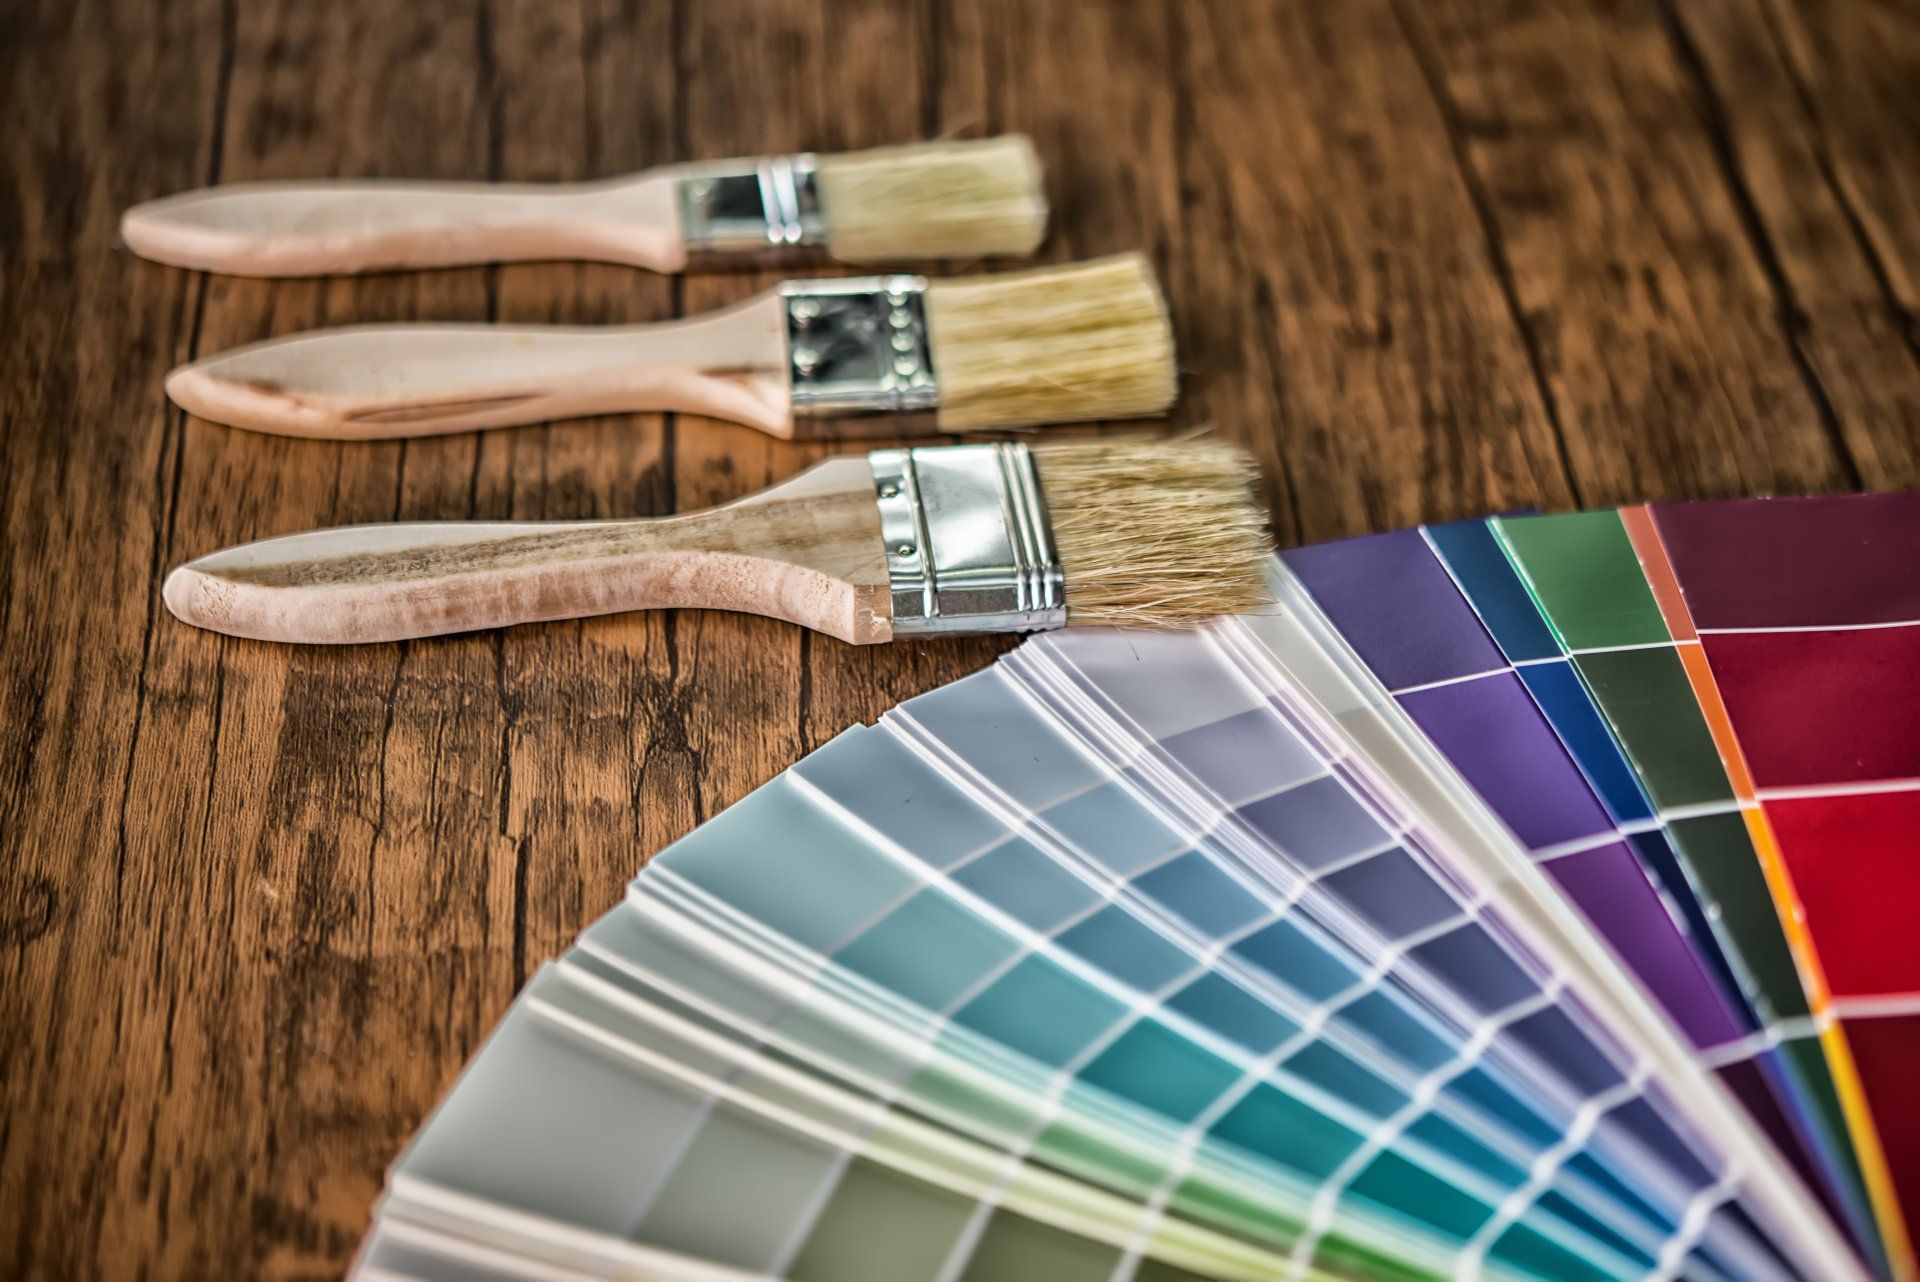
- Paintbrushes
- Paint Tray (2 or 3)
- Top Coat Paints (Paint, Glaze, Metallic Paint and Paint Extender)
- Several Clean Rags
- Bucket with Water
- Paint Stick
Step-By-Step for "Ragging On" Method:
- Pick your colors. You'll need a base coat color and a topcoat color that is 3 or 4 shades darker or lighter than the base coat. Although you can pick any colors you want, the best colors to select will be those that match the already existing colors in your room.
- Prepare your walls and apply your base coat as you would apply paint to any normal wall. The base coat should be allowed to dry overnight before you proceed with the next step.
- Mix your topcoat paints in a paint tray, using a paint stick to mix the paints. There are several different combinations of paint and glaze that you can use, but a common approach is to mix a combination of glaze, paint and paint extender. For a slightly metallic look, mix a combination of glaze, paint and metallic paint.
- Roll a clean rag and dampen it slightly.
- Dip the rag into the mixture of topcoat paint. Dab the rag against a piece of board or paper to remove any excess paint.
- Pat the wall with the rag, starting in the upper right hand corner. Move from right to left and from top to bottom to cover the wall in paint. As the rag ball runs out of paint, dip it into the glaze/paint mixture and reshape the rag ball before reapplying it to the wall. You may need to change rags periodically as the old rags become too saturated to work with.
- Repeat step 6 until the entire wall is covered in paint. Allow the paint to dry overnight.
Step-By-Step for "Ragging Off" Method:
- Follow steps 1 through 3 above.
- Paint the topcoat onto the base coat in a 2 by 2 foot section in the upper left-hand corner of the room. Use the paint roller and paint brushes to do this.
- Roll a clean rag in your hand and dampen it slightly.
- Use the rag to dab the wet topcoat paint. The rag will create a pattern in the topcoat. Dab the rag into the wet topcoat moving left to right and top to bottom.
- Paint a second 2 by 2 foot section in the upper left-hand corner of the room, just to the right of the first 2 by 2 foot section.
- Repeat steps 3 through 4 on the new section of wet topcoat.
- Keep applying new 2 by 2 sections of wet topcoat to the wall and then using the rag to create patterns on the wet topcoat until the entire wall has been covered. Note that you may need to change rags as the old rags become saturated with paint.
Recommendations and Resources
Before you start this project on your walls, it's a good idea to practice on some stiff boards to ensure that you know what you're going to do and that you like the effect. There are several online resources for rag painting. W recommend that you look up one or two of them before you begin this project. Here are a few:
- Benjamin Moore: Rag Painting Technique (describes both "ragging on" and "ragging off" techniques)
- DIY Network: How to Paint With Rags (describes "ragging off")
For your paint supplies, residents of the Pittsburgh area are encouraged to stop by Ace Paint and Unfinished Furniture. Not only can we provide you with all the materials you need to get started, but we can also provide expert advice and feedback!
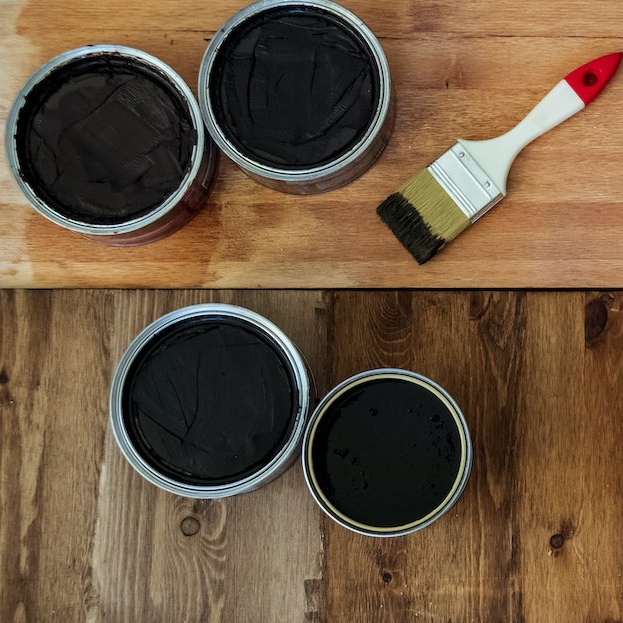
One of the wonderful things about good wood furniture is that it doesn’t have to be merely functional. It can be beautiful as well. We’ve seen some amazing pieces made with wood stains that are more than just furniture, they’re works of art. So if you’ve got an old table, desk or other piece of wood furniture that needs jazzed up, why don’t you consider using some of our great stains to try one of these ideas.

